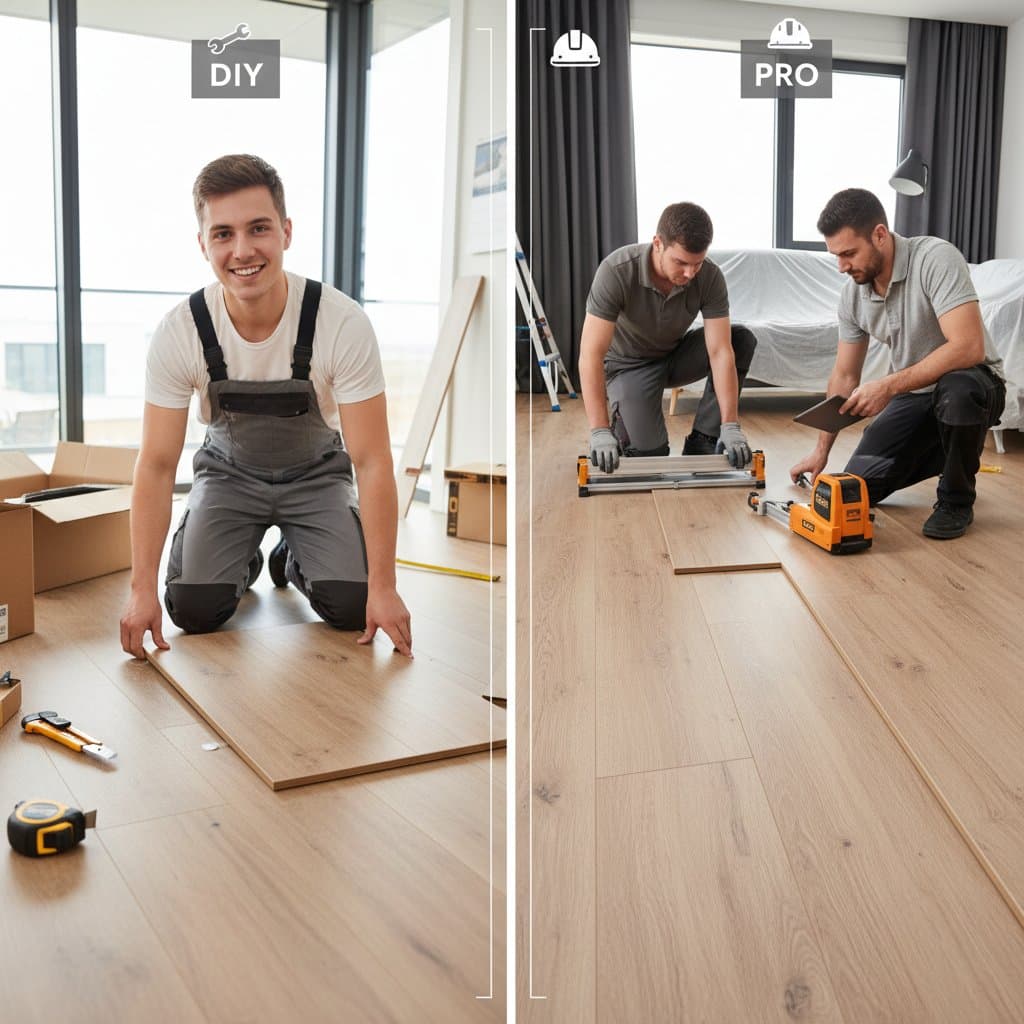
DIY LVP Flooring vs. Hiring a Professional: The Best Choice for Your 2025 Project
Homeowners often contemplate replacing worn floors with luxury vinyl plank flooring, which provides resilience against moisture and wear while replicating the warmth of natural wood at a fraction of the expense. The central dilemma arises in the installation phase: undertake the task personally or engage a specialist? This choice affects financial outlay, project duration, and the enduring performance of the flooring.
Examine the details of each option to determine the approach that aligns with individual capabilities, schedule constraints, and financial priorities. Such an informed selection ensures floors that withstand daily demands and contribute to an appealing living environment.
Pursuing a DIY Installation: Empowerment Through Hands-On Effort
Individuals who favor practical endeavors find LVP installation accessible and fulfilling. Complete a standard room of 200 to 400 square feet within two to three days, factoring in preparation and intricate patterns.
Essential Tools and Materials
Acquire these items to proceed effectively:
- A precise tape measure for accurate dimensions
- A sharp utility knife for clean straight cuts
- Spacers to maintain consistent expansion gaps around perimeters
- A tapping block and rubber mallet for secure plank alignment
- Underlayment sheets if the product specifications demand them
- A circular saw equipped with a fine-tooth blade or a dedicated vinyl cutter for curved or angled sections
These tools remain useful for subsequent home improvements, and anticipate purchasing 5 to 10 percent additional material to account for trimming errors and fitting adjustments.
Financial Overview
The total expense for a DIY project ranges from $2.50 to $6 per square foot, encompassing planks, adhesive if needed, and basic tools. For a 300-square-foot area, budget between $750 and $1,800, with savings amplified if existing tools suffice. Select mid-grade LVP for balanced cost and longevity, around $3 to $4 per square foot for materials alone.
Advantages of the DIY Approach
- Financial savings: Eliminate labor charges, which typically constitute 40 to 60 percent of overall expenses, thereby retaining funds for other enhancements.
- Schedule autonomy: Proceed at a comfortable rhythm, potentially dividing the work over multiple weekends to minimize disruption.
- Sense of accomplishment: Experience the reward of transforming a space through personal labor, fostering a deeper connection to the home.
Potential Drawbacks
Preparation demands meticulous attention; subfloors require leveling to within 3/16 inch over 10 feet to prevent buckling or uneven seams. Cutting around obstacles like pipes or thresholds demands practice to avoid visible flaws. Manufacturers may restrict warranty terms to installations by certified experts, potentially limiting recourse for defects.
Opt for DIY only if the subfloor condition proves even and the layout remains straightforward. Otherwise, the endeavor risks extending beyond initial estimates and compromising aesthetic outcomes.
Key Differences Between DIY and Professional Installation
| Factor | DIY Installation | Professional Installation |
|---|---|---|
| Cost Range | $2.50 - $6 per sq. ft. | $4 - $9 per sq. ft. |
| Time Required | 2 to 3 days for an average room | 1 day for an experienced team |
| Skill Level | Moderate; requires steady hands | None; expertise handled by pros |
| Tools Needed | Basic set purchased or rented | Supplied by the service provider |
| Warranty Coverage | Potentially reduced | Fully maintained |
| Finish Quality | Variable based on user skill | Uniformly professional |
| Flexibility | Self-directed timeline | Dependent on contractor availability |
This table underscores the suitability of DIY for those with mechanical aptitude and availability, while professionals excel in delivering efficiency and reliability for complex scenarios.
Scenarios Favoring Professional Assistance
Even proficient hobbyists recognize situations warranting expert intervention. Engage a professional when subfloors exhibit dips exceeding 1/8 inch or structural damage from prior water exposure. Proceed similarly for rooms with irregular geometries, multiple elevation changes, or installations atop heated systems or slab foundations.
Preserve comprehensive warranties by selecting certified installers, and prioritize those offering rapid completion to reduce household inconvenience. Obtain estimates from three or more providers, verifying inclusions for labor, material sourcing, and debris removal. Review portfolios of past projects to confirm alignment with desired precision.
Optimizing and Preserving LVP Floors
Post-installation, sustain the flooring through routine care: vacuum weekly with a brush attachment to remove debris without scratching, and damp-mop monthly using a pH-neutral solution diluted in water. Position protective pads beneath furniture to avert gouges, and install mats at entrances to trap tracked-in grit.
Monitor for signs of wear in busy areas, such as fading in direct sunlight; reposition rugs periodically to distribute exposure evenly. Address spills immediately to prevent adhesive breakdown in glue-down applications.
Extending the Benefits of Your Flooring Upgrade
Well-maintained LVP endures 20 to 30 years, supporting transitions to adjacent spaces for unified aesthetics. Insights gained from this project, be it through direct involvement or oversight of specialists, equip future renovations with greater confidence.
This flooring choice fortifies the home's core, blending functionality with visual appeal to enrich daily routines and bolster property appeal.