AI Cuts Design Costs 40% But Needs Pro Oversight
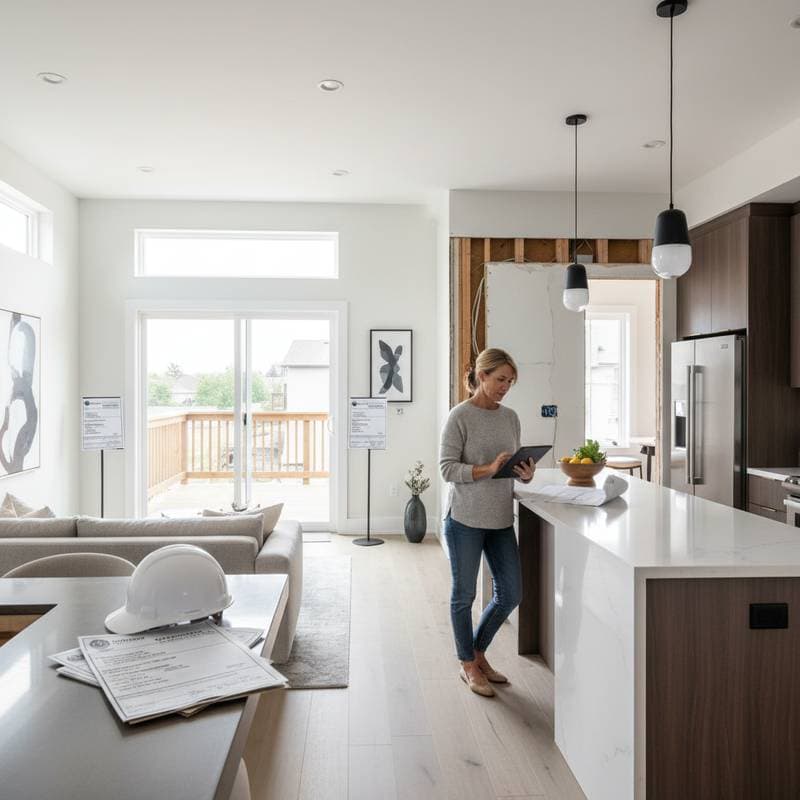
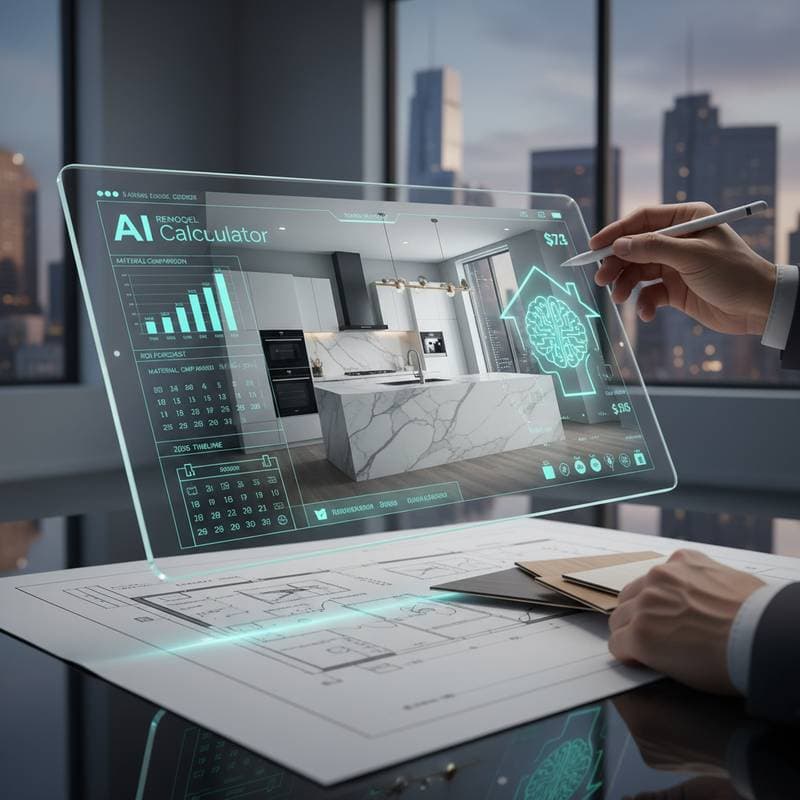
By 2026, AI revolutionizes interior design through rapid visualizations, intelligent budgeting, and streamlined planning, potentially cutting costs by 40 percent. Professional designers ensure safety, durability, and personalization remain intact. The ideal path forward combines AI's speed with expert precision for tailored, code-compliant environments that merge technology and human expertise.
By Deborah Huffman
5 min read