Spring HVAC Maintenance: Essential Steps to Prevent Summer Failures
Late spring brings a gentle warmth that signals the approach of intense summer heat. Homeowners often notice subtle issues with their air conditioning systems during this transition, such as unusual noises or inadequate cooling. Addressing these concerns now, rather than during peak demand, allows for proactive care that avoids disruptions and high repair costs.
The Importance of Spring HVAC Maintenance
Winter places heavy demands on heating components while cooling parts remain idle. Dust, pollen, and debris accumulate in vents and coils during this period. Ductwork develops minor leaks, and filters become clogged, which reduces efficiency when cooling season arrives.
Spring maintenance corrects these issues and restores system performance. Energy consumption decreases, indoor air quality improves, and equipment longevity increases. Regular care ensures reliable operation when temperatures rise.
Step 1: Replace or Clean Air Filters
Air filters serve as the first line of defense against contaminants. Clogged filters impede airflow, compel the system to consume excess energy, and accelerate wear on components. Homeowners can complete this task independently with basic tools.
Purchase disposable filters rated for high efficiency, typically priced from $10 to $30 based on size and MERV rating. For reusable options, rinse thoroughly under water and allow full drying before reinstallation. In homes with pets or allergy sufferers, select pleated filters to capture finer particles effectively. Schedule monthly inspections during cooling season to maintain optimal performance.
Step 2: Clear Debris from Outdoor Units
Vegetation and debris around the outdoor condenser unit restrict airflow and cause overheating. Maintain a minimum two-foot clearance by trimming grass, shrubs, and removing leaves or mulch. Use a soft brush or vacuum with a gentle attachment to remove surface dirt from the fins.
Straighten any bent fins using a specialized fin comb to restore efficient heat exchange. Pressure washing risks damaging delicate parts, so avoid this method. This maintenance prevents compressor failure, which may require repairs costing over $1,200, and requires only minimal time investment.
Step 3: Inspect Ductwork and Vents
Leaky ducts waste up to 30 percent of conditioned air, leading to higher energy bills and uneven temperatures. Examine visible vents for dust accumulation, reduced airflow, or vibrations. In attics or basements, check for loose connections or deteriorated sealing tape.
Apply aluminum foil tape or mastic sealant to seal small gaps. Professional repairs for extensive leaks range from $350 to $700 but yield quick returns through energy savings. Ensure no furniture or carpets obstruct vents, as blockages disrupt system balance and promote premature wear.
Step 4: Verify Thermostat Functionality
A malfunctioning thermostat disrupts system control and wastes energy. Test accuracy by setting the temperature several degrees below the ambient reading and observing the response. Prompt activation confirms proper operation; delays suggest the need for calibration or new batteries.
Upgrade older units to programmable or smart models, available for $100 to $250, which optimize settings based on occupancy patterns and reduce annual energy use by up to 10 percent. Accurate thermostats maintain consistent comfort while minimizing unnecessary operation.
Step 5: Clean Condensate Drains
Cooling processes generate moisture that must drain away to prevent water damage. Clogs from algae or debris in the drain line cause leaks, odors, and potential structural harm near the air handler. Flush the line with a mixture of one cup vinegar and water, or a diluted bleach solution, to eliminate buildup.
Monitor for backups or standing water, which indicate the need for professional inspection of the drain pan and pump. This routine prevents repairs costing hundreds of dollars and helps control indoor humidity levels.
Step 6: Conduct a System Test Run
With filters replaced and units cleaned, operate the system for a minimum of 15 minutes. Listen for irregularities such as rattling, which may signal loose panels, or grinding, indicating motor issues. Note any weak airflow, uneven room temperatures, or unusual smells, which could stem from dust or microbial growth.
Early detection allows scheduling of targeted repairs before summer peaks. Technicians book quickly during heat waves, so address concerns promptly to avoid discomfort.
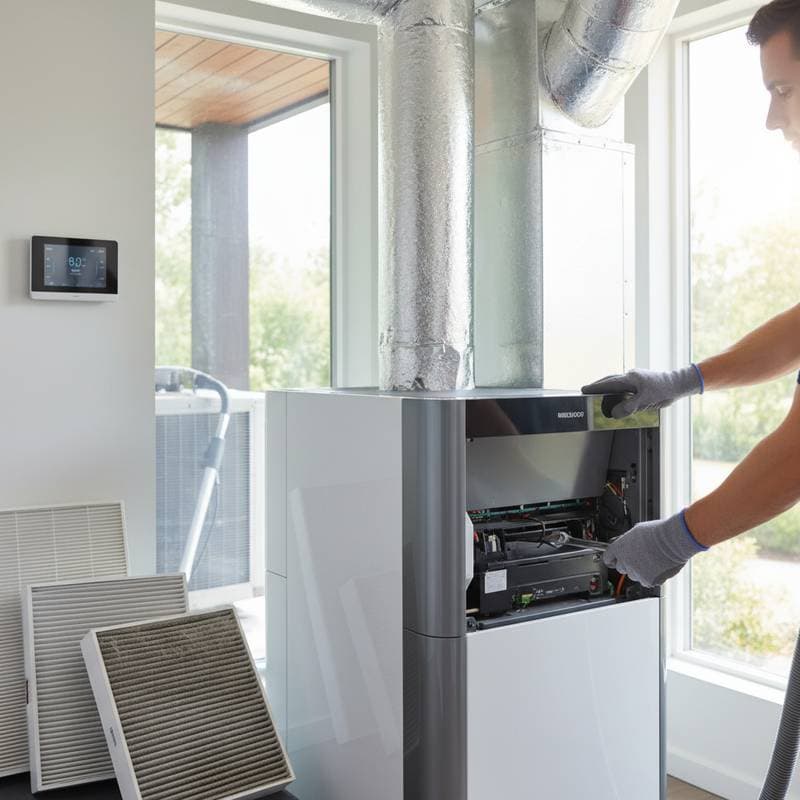
Step 7: Arrange Professional Inspection
DIY efforts provide a strong foundation, but annual professional service uncovers issues beyond basic access. Experts verify refrigerant levels, secure electrical connections, lubricate components, and assess overall pressure. Standard tune-ups cost $90 to $150 and avert emergencies exceeding $1,000.
Choose providers certified by NATE or compliant with EPA Section 608 standards. Request detailed reports on findings and recommendations. Retain service records to demonstrate diligent care, which enhances property value during resale.
Essential Safety Measures
Disconnect power at the breaker before any work to prevent electrical hazards. Wear protective gloves and eyewear when cleaning or applying chemicals. Refrain from accessing sealed areas or handling refrigerants without certification.
Immediate professional intervention is required if burning smells or sparks appear. HVAC systems involve high voltage, mechanical motion, and pressurized fluids, demanding caution at every step.
Advanced Maintenance Strategies
- Evaluate Insulation: Inspect attic insulation and duct sealing to minimize heat gain and support efficient cooling.
- Adjust Air Registers: Open most vents to promote balanced distribution; excessive closures create uneven pressure.
- Track Humidity Levels: Employ a hygrometer to monitor moisture; levels above 60 percent burden the system and foster mold.
- Log All Activities: Record dates for filter changes and inspections to streamline future maintenance and aid diagnostics.
- Establish Seasonal Routines: Set calendar alerts for spring checks to stay ahead of seasonal demands.
Optimizing System Longevity
Consistent spring maintenance transforms potential vulnerabilities into strengths. Homeowners gain peace of mind, lower utility costs, and a more resilient home environment. Implement these steps annually to ensure reliable performance through every season.