DIY vs Pro Smart Home Costs: What You Will Really Pay
Smart home devices promise convenience, energy savings, and security. Most homeowners underestimate one key factor: the true cost of installation. Between DIY setups that seem simple and professional installations that promise seamless integration, the question becomes clear. Which path actually saves more in the long run?
This guide breaks down the hidden costs, realistic price ranges, and decision frameworks that help you choose whether to install your smart home system yourself or call in a professional. You will walk away knowing how each approach affects your budget, your time, and your home future value.
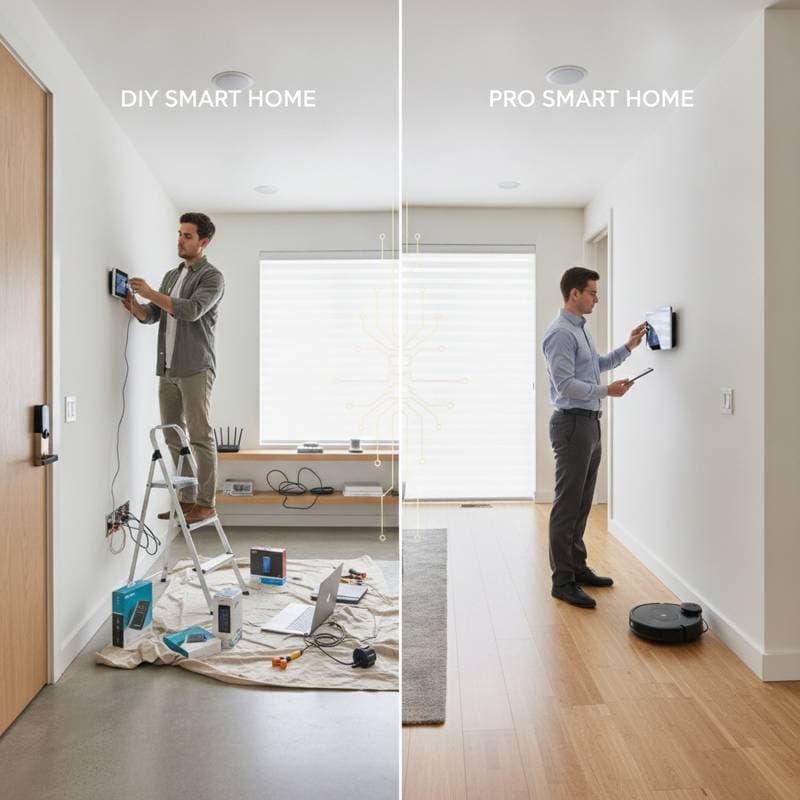
The DIY Smart Home Route
DIY smart home projects attract homeowners who enjoy hands-on work and want to save on labor. A growing number of devices now come with plug-and-play installation designed for beginners. Still, even the most simple setups carry hidden time and cost factors.
Cost Breakdown for DIY Smart Devices
| Device Type | Average DIY Cost (Device + Tools) | Typical Install Time | Skill Level |
|---|---|---|---|
| Smart thermostat | $150 to $300 | 1 to 2 hours | Intermediate (basic wiring) |
| Smart lighting kit (4 bulbs + hub) | $100 to $200 | 30 to 60 minutes | Beginner |
| Smart door lock | $120 to $250 | 1 hour | Intermediate |
| Smart camera system (2 cameras) | $200 to $400 | 1 to 2 hours | Intermediate |
| Smart plugs and outlets | $20 to $50 each | 10 to 20 minutes | Beginner |
These figures assume you already own basic tools like screwdrivers, voltage testers, and a drill. If not, expect to add $50 to $100 in upfront tool costs.
Benefits of DIY Installation
- Lower upfront cost. You avoid labor fees that can range from $75 to $150 per hour.
- Flexibility. Install devices gradually as your budget allows.
- Learning opportunity. Understanding your system helps with future troubleshooting.
Hidden Costs to Watch
- Time commitment. A weekend project can easily stretch across multiple days if you encounter wiring or connectivity issues.
- Compatibility problems. Devices from different brands may not communicate, requiring additional hubs or software subscriptions.
- Limited warranties. Some manufacturers restrict coverage if devices are self-installed.
- Safety risks. Improper wiring or unsecured installations can cause electrical faults or security vulnerabilities.
DIY is ideal for smaller systems or single-room automation, especially when you enjoy hands-on projects. For whole-home systems, integration across multiple devices can quickly become complex.
Cost Comparison: DIY vs Professional Over Five Years
| Category | DIY Initial Cost | Pro Initial Cost | Estimated Maintenance & Upgrades (5 years) | Long-Term Value |
|---|---|---|---|---|
| Small system (lighting + thermostat) | $300 to $600 | $600 to $1,000 | $100 to $200 | Moderate |
| Medium system (lighting + security) | $700 to $1,200 | $2,000 to $3,000 | $300 to $600 | High |
| Whole-home system | $1,500 to $3,000 | $7,000 to $15,000 | $1,000 to $2,000 | Very high |
DIY systems cost less upfront but often require more frequent updates and maintenance. Professional systems cost more initially but tend to hold value longer and integrate more smoothly.
Safety and Reliability Considerations
Electrical connections for thermostats, lighting controls, and outlets can carry safety risks if handled incorrectly. Licensed installers are required to follow local codes and safety standards, while DIY installations rely entirely on user caution.
Key Safety Tips for DIYers
- Always shut off power at the breaker before wiring.
- Use non-contact voltage testers to confirm circuits are dead.
- Follow manufacturer diagrams precisely.
- Avoid overloading circuits with multiple smart devices.
- If you encounter aluminum wiring, consult a licensed electrician immediately.
Professional installers also ensure network security, which is often overlooked. Poorly configured Wi-Fi devices can expose your home to hacking risks. Contractors certified in home automation security can set up encrypted networks and secure access protocols.
Troubleshooting Common Issues
Even well-planned installs can face problems. Here are common challenges and how to fix them.
- Connectivity drops. Move the router closer or add a mesh Wi-Fi node.
- App pairing failures. Reset the device and reinstall the app.
- Inconsistent responses. Check firmware updates or power cycle devices.
- Power loss or flickering. Verify wiring and ensure circuits are not overloaded.
- Voice command lag. Reboot the hub or check internet bandwidth.
Professional systems typically include remote diagnostics, while DIY users can rely on manufacturer support forums and online troubleshooting guides.
Selecting the Right Path for Your Home
If you are starting small, begin with one or two devices to learn the basics of connectivity and control. Track your energy use before and after installation to measure results. For larger projects, schedule a consultation with a certified home automation contractor to get an accurate quote and design plan.
Smart homes work best when they simplify daily routines. Set a clear budget, understand your technical comfort level, and focus on long-term efficiency over short-term savings. Soon, you will enjoy a living space that feels intelligent, responsive, and perfectly suited to your lifestyle.