
DIY Bathroom Waterproofing: Weighing the Risks Against Professional Help
Water can damage a bathroom quickly when waterproofing fails. Soft floorboards, peeling paint, and persistent musty odors often signal hidden moisture problems that affect walls, subfloors, and framing. Homeowners facing a remodel must decide whether to handle waterproofing themselves or engage a professional.
This guide outlines the complete process. It covers the tasks involved in a DIY project, associated costs, frequent errors, and situations where professional work provides clear value.
Tasks Involved in a DIY Project
Homeowners often attempt waterproofing on smaller areas such as a shower niche or section of floor. Kits sold at home improvement stores typically contain a liquid membrane, reinforcing mesh, and basic tools.
Preparation Steps
Remove existing tile, grout, and any damaged substrate. Inspect the subfloor and wall framing for rot or mold. Replace compromised materials before proceeding.
Install cement backer board with corrosion resistant screws. Leave minimal gaps between panels and cover seams with fiberglass mesh tape rated for wet areas.
Membrane Application
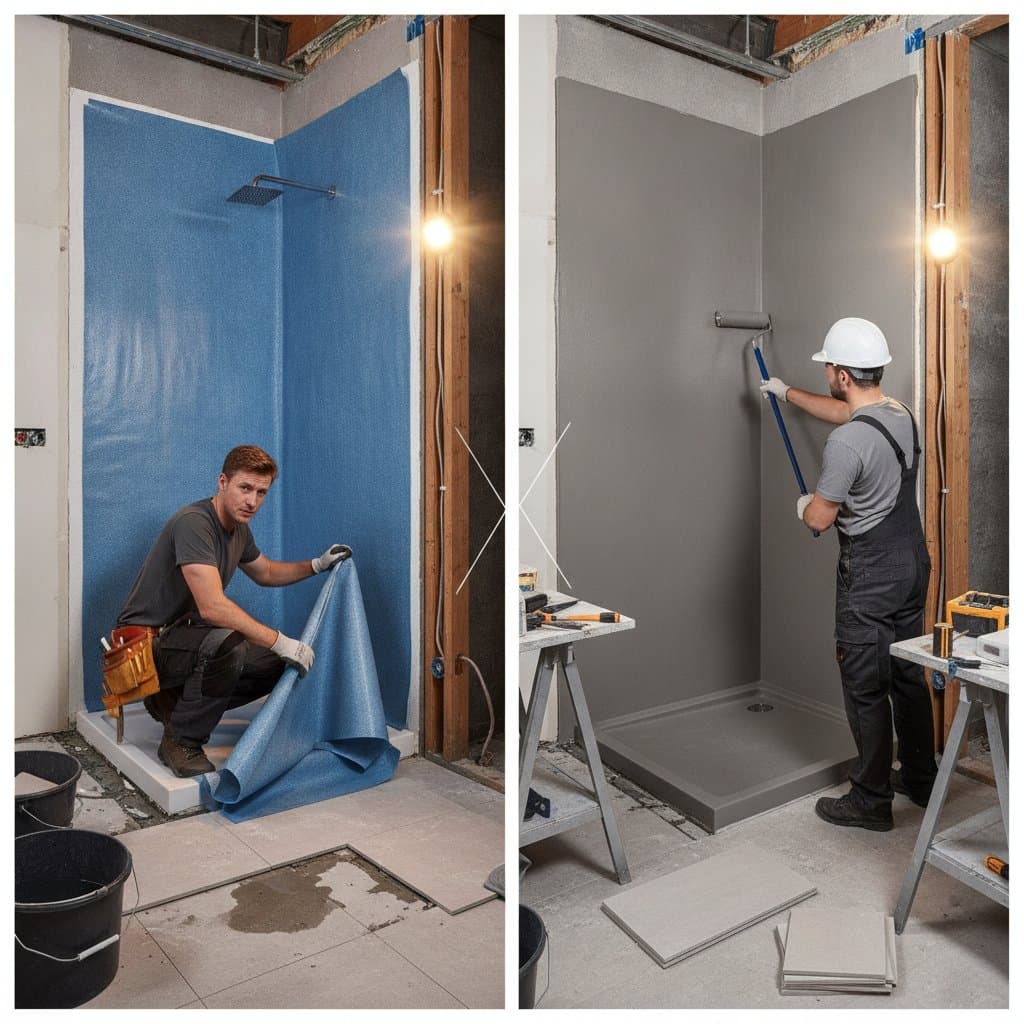
Brush or roll the first coat of waterproof membrane evenly across the surface. Place reinforcing fabric at corners, seams, and plumbing penetrations. Apply a second coat after the first has cured fully.
Verification Process
Perform a flood test on floors and shower pans. Fill the area with water and monitor for leaks over twenty four hours. Proceed with tile installation only after the system passes inspection.
Required Tools and Materials
- Cement backer board
- Liquid or sheet waterproof membrane
- Mesh tape and reinforcing fabric
- Notched trowel, rollers, and brushes
- Silicone sealant
- Safety equipment including gloves, goggles, and respirator
A motivated individual can complete a small floor or simple shower in one to three days. Material costs range from 150 to 400 dollars. Custom shower pans may increase the total to approximately 600 dollars.
Situations That Favor Professional Work
Certified contractors bring specialized equipment and access to high performance products. Their involvement becomes especially valuable in the following cases:
- Showers that include multiple drains or built in benches
- Bathrooms located on upper floors where leaks could affect ceilings below
- Installations that use large format tile requiring precise leveling
- Historic homes or uneven subfloors needing structural repairs
- Projects that incorporate steam showers or radiant heating
Professionals inspect for concealed damage, correct framing issues, and ensure proper ventilation. They follow local building codes and manufacturer specifications that protect warranty coverage. Many apply sheet membranes such as Schluter Kerdi or Laticrete Hydro Ban to achieve uniform thickness.
Professional waterproofing for a standard walk in shower typically costs between 1000 and 2500 dollars. Larger or custom projects that require structural work may reach 3000 to 4500 dollars.
Safety and Regulatory Requirements
Review local building codes before beginning work. Some jurisdictions mandate inspections for new showers or upper floor bathrooms. Follow manufacturer instructions for curing times and material compatibility to avoid voiding warranties.
Wear appropriate protective gear and maintain ventilation when applying liquid membranes. Use a respirator during cutting operations to limit dust exposure.
Decision Framework
Evaluate the following factors before choosing an approach:
- Review past experience with tile setting and membrane installation. Practice on a small test area if skills are limited.
- Examine the layout. Simple single drain designs suit DIY efforts. Curbless or multi zone showers demand advanced techniques.
- Account for total expenses including tools, time, and potential repairs.
- Consider the consequences of failure. Leaks above living spaces often justify professional fees.
- Confirm whether local codes require documented inspections.
Practices That Improve Outcomes
Measure subfloor moisture content before starting and confirm it meets manufacturer limits. Apply successive coats in different colors to verify complete coverage. Photograph each stage for future warranty or resale documentation. Select premium membranes and sealants that resist cracking over time.
Ongoing Care After Installation
Inspect grout and sealant lines every six months. Reapply silicone at penetrations when signs of wear appear. Address minor issues promptly to maintain the integrity of the waterproof barrier.