DIY LVP Flooring: Achieve Savings or Risk Costly Errors?
Homeowners often encounter luxury vinyl plank (LVP) flooring in renovation inspirations, drawn to its resemblance to hardwood, resistance to moisture, and straightforward assembly. The appeal of handling installation personally to reduce expenses proves strong. However, such projects demand assessment to determine if they deliver genuine financial benefits or result in unforeseen expenditures over time.
This examination reveals the attractions of LVP, identifies potential obstacles, and provides guidance on selecting the appropriate approach for your space.
Essential Preparation for DIY LVP Success
Before placing the first plank, thorough preparation establishes the foundation for a durable result. Measure the room dimensions accurately to calculate material needs, adding 10 percent extra for cuts and errors. Gather tools including a utility knife, tapping block, pull bar, spacers, and a level to ensure precision throughout the process.
Acclimate the planks indoors for at least 48 hours to match room conditions, preventing warping during installation. Clear the area completely, removing baseboards if necessary, to access the subfloor fully.
Addressing Subfloor Imperfections
A flat subfloor proves crucial for LVP stability, as uneven surfaces lead to clicking noises or plank separation. Inspect for dips exceeding 3/16 inch over 10 feet; level them with self-leveling compound, allowing 24 hours to dry. Sand protrusions and fill cracks with patching material to create a seamless base.
In moisture-prone areas like kitchens, apply a vapor barrier underlayment to shield against humidity damage. Neglecting these steps often results in callbacks for repairs, escalating costs beyond initial savings.
Navigating Common Installation Hurdles
Aligning the initial row sets the tone for the entire layout, particularly in rooms with irregular walls. Use a chalk line to mark a straight starting point, dry-fitting several rows to visualize the pattern. In non-square spaces, trim the first row to follow the wall contour precisely.
Cutting planks around obstacles such as door jambs requires patience; score and snap for straight edges, or employ a jigsaw for curves. Stagger end joints by at least 6 inches between rows to distribute stress evenly and enhance visual appeal.
Managing Expansion and Contraction
LVP materials respond to environmental shifts, necessitating 1/4-inch gaps along walls and fixtures to allow movement. Insert spacers during installation, removing them afterward and covering with quarter-round molding. Failure to incorporate these gaps frequently causes buckling, especially in fluctuating climates, demanding full replacement.
For floating installations, avoid gluing planks directly to the subfloor, as this restricts natural expansion and invites damage.
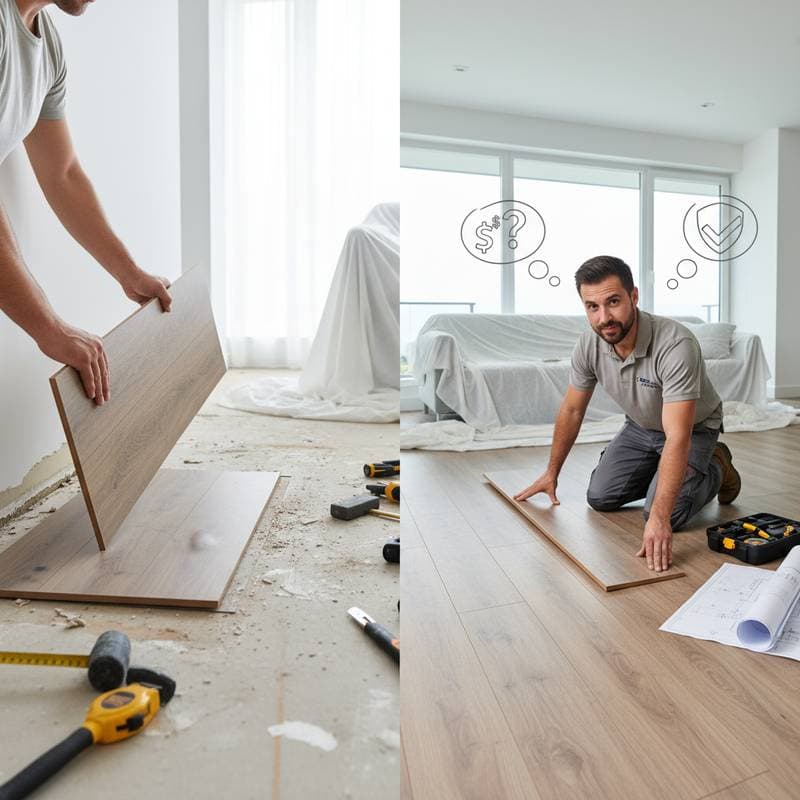
Scenarios Favoring Professional Installation
Certain conditions warrant expert intervention to avoid complications. Subfloors with significant damage, such as water rot or concrete inconsistencies, require assessment and remediation beyond typical DIY capabilities. Professionals employ laser levels and moisture meters for accurate diagnostics.
Expansive areas or intricate designs involving multiple rooms amplify layout challenges, where pros optimize material use and minimize waste. Expect installation for a 200-square-foot room to take one day with a team, versus three or more for novices, factoring in tool rentals and learning curves.
Hiring adds approximately $2 to $4 per square foot, yet it mitigates risks like voided warranties from improper setup. Obtain quotes from certified installers to compare against your DIY timeline and skill level, particularly for transitions to dissimilar flooring types.
Actionable Strategies for Flawless Results
Success hinges on deliberate techniques and quality choices.
- Select planks with robust click-lock mechanisms and at least 12-mil wear layers for residential traffic.
- Lay out the pattern in advance, starting from the room's longest straight wall to minimize cuts.
- Use a rubber mallet with a tapping block to secure joints without damaging edges.
- Maintain consistent temperature between 65 and 85 degrees Fahrenheit during installation to ensure tight connections.
- For angled cuts around pipes or vents, mark templates on scrap pieces before cutting the actual plank.
- Test-fit underlayment rolls to cover the entire area without overlaps that create lumps.
These practices elevate amateur efforts to professional standards, preserving the flooring's integrity.
Ensuring Long-Term Durability
Post-installation care sustains the flooring's performance and appearance. Sweep regularly with a soft broom to remove grit, and mop with a diluted vinegar solution to clean without residue buildup. Avoid steam cleaners, which introduce excess moisture and compromise the core.
Place protective pads under furniture legs to prevent scratches, and position mats at entryways to trap dirt. Annual inspections for gap widening or seam lifting allow timely adjustments, extending the lifespan to 20 years or more.
By committing to meticulous preparation and maintenance, homeowners realize substantial savings through DIY LVP installation while enjoying a resilient, attractive floor that enhances their living space.