
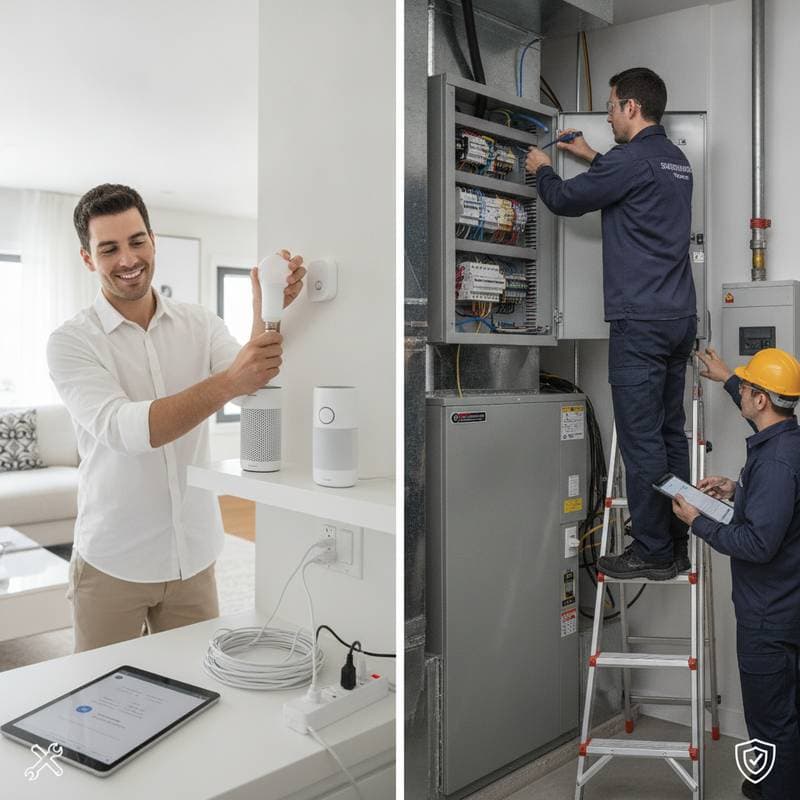
DIY Smart Home Upgrades: When to Skip the Pro
The safest smart home projects involve plug-in devices, batteries, wireless connections, and reversible modifications. Smart bulbs, sensors, speakers, video doorbells, and thermostats often work well for careful homeowners. New wiring, electrical panels, gas appliances, security systems, and permit-required work belong with licensed professionals.
A modest DIY upgrade may cost between thirty and three hundred dollars and take less than a day. Professional installation commonly adds one hundred to five hundred dollars, depending on wiring needs, access challenges, regional labor rates, and permit requirements. That fee can protect insurance coverage, resale value, and household safety.
Start With Low Risk Automation
The best beginner projects avoid energized wiring and building system changes. Consider these upgrades:
- Smart bulbs: Replace compatible bulbs, connect them to an app, and group them by room. Expect ten to fifty dollars per bulb.
- Plug in smart outlets: Use them for lamps, fans, and small appliances within the outlet rated load. Typical cost is fifteen to forty dollars each.
- Motion and contact sensors: Add alerts to doors, cabinets, or hallways without drilling into wiring. A basic kit costs thirty to one hundred fifty dollars.
- Smart speakers and hubs: Place the hub centrally, update its software, and use unique passwords for every account.
- Video doorbells: Battery models are generally approachable. Wired versions require more caution because the existing transformer may not provide suitable voltage.
Before buying, confirm compatibility with your Wi Fi network, phone, voice assistant, and other devices. A bargain gadget that cannot communicate with your system becomes expensive clutter.
Know When Wiring Changes the Job
Smart switches, dimmers, ceiling fixtures, hardwired cameras, and thermostats can look simple in a product video. The real work starts inside the wall. You may encounter an absent neutral wire, crowded electrical boxes, aluminum wiring, brittle insulation, incorrect grounding, or circuits shared by more equipment than expected.
Turn off the circuit breaker and verify that power is absent with a properly functioning voltage tester. Never rely on the switch position alone. If wires are scorched, loose, unusually warm, or difficult to identify, stop immediately and call an electrician.
Electrical rules vary by location, and many jurisdictions require permits or inspections for new circuits, service changes, and certain installed devices. A licensed electrician can verify conductor size, grounding, box capacity, and code compliance. Skipping that review may create shock and fire risks, complicate an insurance claim, or raise questions during a home sale.
A Practical DIY or Pro Decision
DIY makes sense when the project is wireless, low voltage, reversible, clearly documented, and within your comfort level. Hire a professional when the work involves:
- New wiring or a breaker panel
- High voltage circuits or hardwired appliances
- Gas, heating, cooling, or water equipment
- Exterior penetrations that could admit moisture
- Security systems connected to monitored emergency services
- Historic homes or visible wiring damage
- Permit requirements you cannot confirm
A smart thermostat deserves special care. Incorrect wiring can damage the control board or leave heating equipment unsafe. Confirm system compatibility before removal, photograph existing connections, label each wire, and follow the manufacturer terminal guide. If you see multiple zones, heat pumps, electric baseboards, or unfamiliar control wiring, schedule an HVAC consultation instead.
Protect Privacy and Network Performance
Smart home safety includes digital security. Change default passwords, activate multifactor authentication, install firmware updates, and place inexpensive devices on a guest or dedicated network when your router supports it. Avoid buying products with unclear privacy policies or abandoned apps.
Strong placement matters too. A hub hidden behind a metal appliance may lose range, while a camera aimed toward a neighbor private space can create legal and relationship problems. Choose door and window sensors that remain accessible for battery replacement, and test every alert before depending on it.
Control Costs Without Cutting Corners
Create a project budget that includes devices, mounting hardware, batteries, replacement plates, electrician consultation, permits, and future subscription fees. A DIY smart switch may cost twenty five to seventy dollars, while installation by an electrician can add one hundred to two hundred fifty dollars per device. A short consultation is often cheaper than repairing a damaged circuit or replacing incompatible equipment.
Keep receipts, manuals, model numbers, permit records, and installation photos. This documentation helps with warranty claims and gives the next homeowner a clear maintenance trail.
Build Your System One Room at a Time
Begin with one room and one automation, such as turning entry lights on when a door sensor detects movement. Test it through the router, app, voice control, and manual switch. Check battery levels monthly, review permissions periodically, and remove devices you no longer update.
The most reliable upgrade is not the one with the most features. It is the system you can operate reliably, secure properly, and repair without guessing. When a project crosses into wiring, structural work, or life safety, call the pro before the first screw comes out.