Essential Spring HVAC Checks to Prevent Costly Breakdowns
As temperatures rise, the HVAC system transitions from heating to cooling operations. Homeowners often neglect seasonal upkeep until issues arise, yet targeted spring inspections can prevent hundreds of dollars in urgent repairs and maintain optimal performance through the summer. Establish a systematic review process at this time to eliminate unexpected failures, decrease utility expenses, and prolong the service life of the air conditioning components.
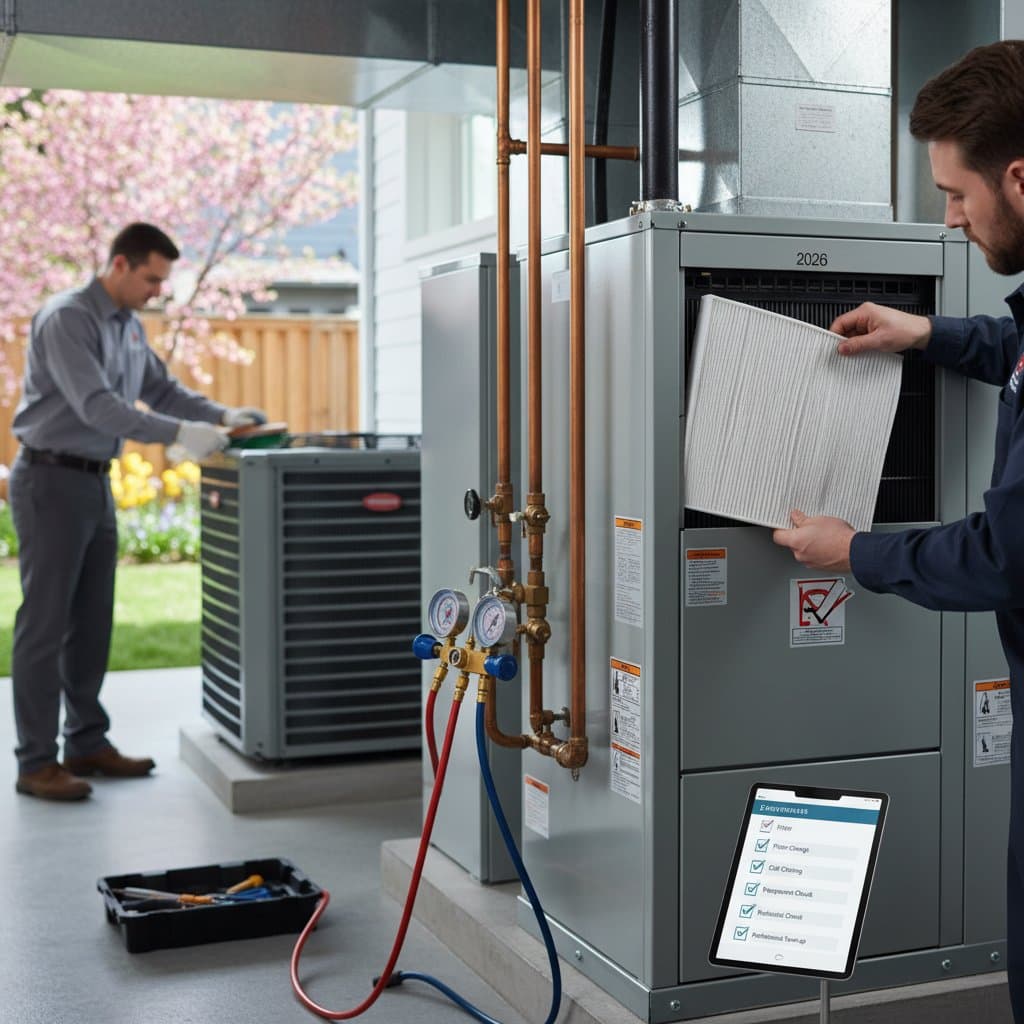
Step 1: Replace or Clean Air Filters
This basic procedure receives frequent oversight. A clogged filter impedes airflow, compelling the system to operate under increased load. Such additional stress may result in compressor malfunction or coil icing. Swap out disposable filters or rinse reusable variants every one to two months amid peak usage periods. Select filters rated MERV 8 to 11, which provide an effective compromise between air purification and equipment performance. Regular filter maintenance reduces energy consumption by as much as 15 percent and enhances indoor air quality right away.
To perform this task, locate the filter slot near the return air duct or furnace. Slide out the old filter, note the airflow direction indicated by the arrow, and insert the new one accordingly. For reusable filters, submerge in warm soapy water, rinse thoroughly, and allow complete drying before reinstallation.
Step 2: Inspect Outdoor Units for Debris
Winter weather frequently deposits leaves, branches, and soil around the condenser unit. Ensure a clearance of at least two feet surrounding the unit to permit unobstructed air circulation. Employ a soft-bristled brush or shop vacuum to dislodge accumulations from the fins, taking care not to distort them. In cases of bent fins, utilize a fin comb tool to restore their alignment gently.
Additionally, verify the levelness of the concrete base under the condenser. An uneven foundation promotes vibrations that accelerate component wear. Place a carpenter's level on the pad; if adjustment proves necessary, add shims or consult a professional for stabilization. This step safeguards against operational inefficiencies and premature deterioration.
Step 3: Check Refrigerant Lines and Insulation
Examine the refrigerant lines linking the indoor evaporator to the outdoor condenser for signs of cracks, rust, or absent insulation. Compromised insulation permits thermal loss, diminishing overall system effectiveness. The presence of oily spots or frost formation may indicate a refrigerant leak.
Refrigerant management demands professional certification, so refrain from attempting refills independently. Arrange for a qualified technician to conduct a leak detection assessment and recharge the system to manufacturer-specified levels. Addressing these concerns early prevents efficiency drops and potential environmental hazards from refrigerant release.
Step 4: Clean Evaporator and Condenser Coils
Dust and pollen accumulation on coils hampers heat exchange, thereby impairing cooling capacity. Disconnect power to the unit prior to accessing the panels. Apply a commercial no-rinse coil cleaner spray, allowing the solution to penetrate and break down residues for the recommended dwell time, typically 10 to 15 minutes.
For indoor evaporator coils, wipe surfaces with a soft cloth after the cleaner activates. On outdoor condenser coils, direct a garden hose with moderate water pressure from the interior side outward to flush away debris. Thorough coil cleaning elevates system efficiency by up to 20 percent and alleviates stress on associated motors and blower fans, fostering longer operational reliability.
Step 5: Test Thermostat and Electrical Components
Activate the thermostat to cooling mode and observe whether the system engages as expected. Should the output air remain tepid, inspect the circuit breaker panel and fuses for trips or blown elements. Renew thermostat batteries if the screen appears faint or fails to respond.
During startup, attend to any atypical sounds, which could signify capacitor degradation or motor issues. Secure any accessible wiring terminals with a screwdriver, ensuring firm connections without over-tightening. Delegate comprehensive electrical diagnostics and repairs to certified electricians to mitigate risks of shock or fire.
Step 6: Schedule a Professional Tune-Up
DIY efforts provide valuable support, yet they cannot substitute for a comprehensive evaluation by an HVAC specialist. Technicians measure static pressure and airflow rates, apply lubricant to bearings and pivots, fine-tune thermostat settings, and verify refrigerant charge accuracy.
Anticipate costs ranging from $100 to $250 based on local rates and system complexity. This investment frequently yields returns via heightened efficiency gains and the identification of latent problems, such as worn belts or faulty sensors, before they escalate into major failures.
Sustaining Peak Performance Year-Round
With the HVAC system optimized, maintain a detailed record of filter replacements, professional services, and any corrective actions. Such documentation reveals trends in system behavior and bolsters warranty validations if needed.
Replicate the full inspection protocol at the onset of every season to preempt issues proactively. Through diligent upkeep, the system delivers consistent cooling, minimizes energy expenditures, and provides dependable comfort across all warm months.