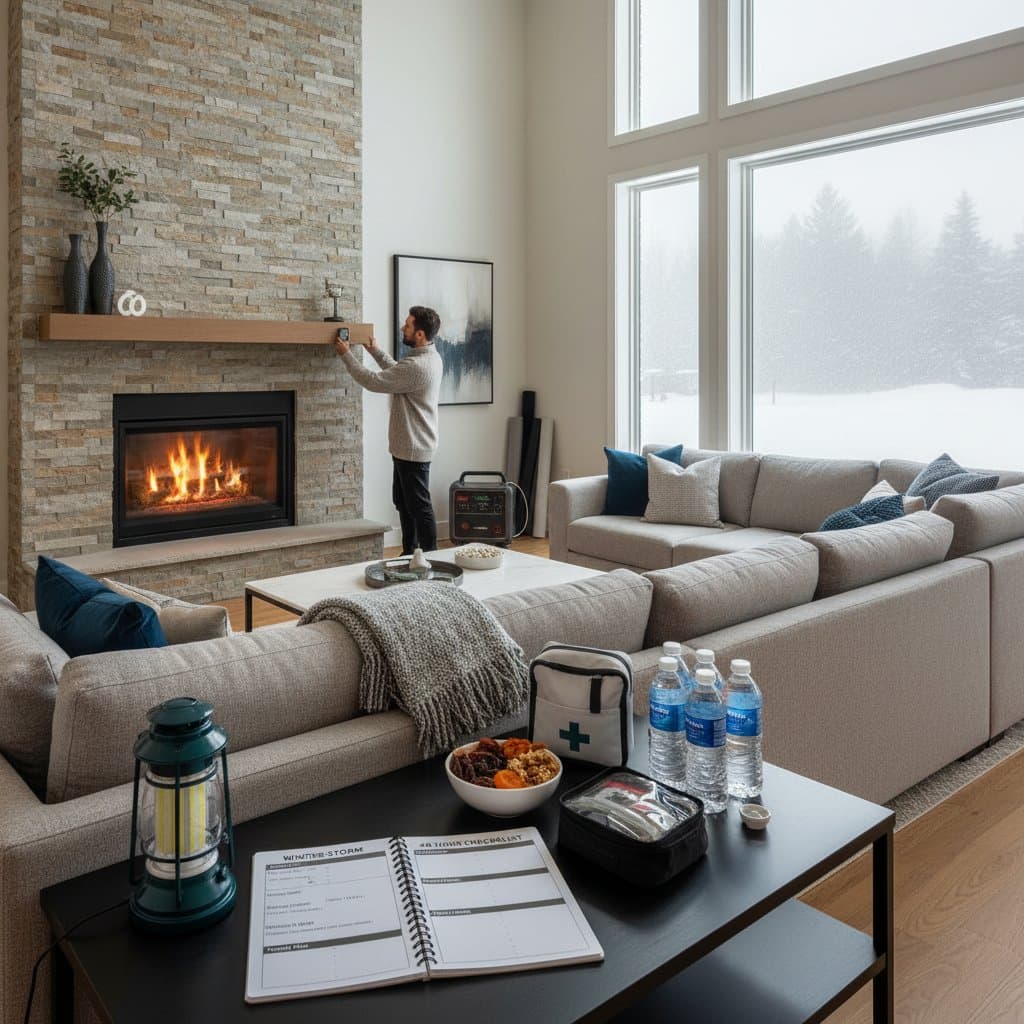
The 48-Hour Checklist for Winter Storm Home Safety
Winter storms arrive with little warning, bringing heavy snow, biting cold, and potential disruptions to daily life. Homeowners often face challenges such as power outages, frozen pipes, and structural strain from ice buildup. Preparation over the 48 hours before the storm hits transforms potential chaos into manageable routine. This checklist provides a structured timeline, dividing tasks into six key steps that address immediate risks and long-term resilience.
Begin preparations as soon as the forecast confirms the storm. Allocate time across the two days: focus on critical infrastructure in the first 24 hours and family coordination in the second. Each step includes specific actions, estimated timelines, and cost considerations to guide your efforts efficiently. By completing these measures, you safeguard your property, ensure family well-being, and reduce the likelihood of expensive repairs.
Step 1: Secure Heating and Insulation (Hours 1-12)
Heating systems bear the brunt of extreme cold, and inadequate insulation accelerates heat loss. Start here to maintain a stable indoor temperature and avoid hypothermia risks.
Inspect and Maintain Heating Equipment
- Test your furnace or boiler. Run a full cycle to check for unusual noises or weak airflow. Schedule a professional tune-up if the system has not received service in the past year.
- Clean or replace air filters. Clogged filters reduce efficiency by up to 15 percent; fresh ones ensure optimal performance during prolonged use.
- Seal drafts around doors and windows. Apply weatherstripping or caulk to gaps, which can leak as much heat as an open window.
Enhance Insulation
- Add insulation to attics and walls. Use fiberglass batts or blown-in cellulose for uninsulated areas; target an R-value of at least 30 for attics in cold climates.
- Cover windows with thermal curtains. These barriers trap heat and block cold infiltration, improving room temperatures by several degrees.
- Insulate outlets and switches. Install foam gaskets behind faceplates to prevent heat escape through electrical penetrations.
Estimated time: 4-6 hours. Estimated cost: Weatherstripping kits range from 10 to 30 dollars; basic insulation materials cost 50 to 100 dollars for a standard home.
Step 2: Protect Pipes and Plumbing (Hours 13-18)
Frozen pipes rank among the leading causes of winter property damage, often resulting in floods and repair bills exceeding thousands of dollars. Proactive measures keep water flowing and prevent bursts.
Insulation and Prevention
- Wrap exposed pipes. Apply foam pipe sleeves or electrical heat tape to vulnerable sections in basements, attics, crawl spaces, and near exterior walls. Focus on pipes adjacent to unheated areas.
- Maintain minimal water flow. During subfreezing temperatures, allow faucets to drip at a slow rate; this keeps water moving and resists ice formation.
- Open under-sink cabinets. Position cabinet doors ajar to permit warm indoor air to reach plumbing fixtures in kitchens and bathrooms.
Emergency Preparedness
- Locate and label the main shut-off valve. Ensure all household members know its position, typically near the water meter or in the basement, for quick access during crises.
- Drain outdoor water lines. Disconnect garden hoses, shut off valves to irrigation systems, and install insulating covers over spigots to avoid freeze damage.
- Insulate the water heater. If located in a cold area, wrap the tank with a fitted insulation blanket to conserve energy and protect against chilling.
Estimated time: 2-3 hours. Estimated cost: Foam insulation costs 1 to 2 dollars per linear foot; heat tape rolls average 25 to 50 dollars.
Step 3: Prepare Power Backups and Electrical Safety (Hours 19-24)
Power outages during storms leave homes in darkness and disrupt essential appliances. Reliable backups and safety checks keep operations running smoothly.
Backup Power Solutions
- Acquire or test a generator. Select a model with at least 5,000 watts for basic needs like lights and refrigeration; fuel it with fresh gasoline or propane.
- Charge portable power stations. Devices with built-in batteries can power phones, radios, and small heaters for extended periods without noise or fumes.
- Install surge protectors. Safeguard electronics from voltage spikes caused by grid instability; plug sensitive items like computers into multi-outlet units.
Electrical Checks
- Inspect extension cords and outlets. Look for frayed wires or overload signs; avoid daisy-chaining cords to prevent fires.
- Unplug non-essential appliances. This reduces startup surges when power returns and minimizes risks from faulty wiring.
- Prepare for safe space heater use. Choose models with tip-over shutoff and keep them at least three feet from flammables.
Estimated time: 3-4 hours. Estimated cost: Portable generators start at 300 dollars; power banks range from 20 to 100 dollars.
Step 4: Stock Essential Supplies (Hours 25-30)
Storms can isolate homes for days, making access to stores impossible. A comprehensive stockpile covers nutrition, illumination, and health needs without reliance on external aid.
Food and Water Provisions
- Gather three gallons of water per person. Store in clean containers; include purification tablets for extended emergencies.
- Select non-perishable foods. Opt for items like canned vegetables, dried fruits, energy bars, and instant meals that require no cooking.
- Include manual openers. Stock a sturdy can opener and basic cookware compatible with alternative heat sources.
Lighting and Communication Tools
- Fully charge electronic devices. Equip with multiple power banks and consider hand-crank chargers for indefinite use.
- Assemble lighting supplies. Gather LED flashlights, headlamps, and battery-operated lanterns; stock extra batteries in various sizes.
- Secure a weather radio. Choose one with NOAA alerts and multiple power options, including hand-crank and solar.
Health and Comfort Items
- Assemble a first-aid station. Include bandages, antiseptics, medications, and a thermometer; personalize with family-specific needs.
- Gather warm bedding. Prepare wool blankets, thermal sleeping bags, and extra pillows for cozy, heat-retaining sleep setups.
- Verify detector functionality. Test smoke and carbon monoxide alarms; install fresh batteries and note replacement dates.
Estimated time: 2-3 hours for shopping and organization. Estimated cost: Family kits for food and water total 100 to 150 dollars; lighting and radios cost 15 to 40 dollars each.
Step 5: Reinforce Exterior and Structural Integrity (Hours 31-36)
Snow and ice exert immense pressure on roofs, doors, and trees. Strengthening the exterior prevents collapses, leaks, and hazards from falling debris.
Roof and Gutter Maintenance
- Clear gutters of debris. Remove leaves and ice buildup to ensure proper drainage and avoid weight overload.
- Secure loose shingles. Use roofing cement to fasten any curling edges; inspect for cracks that could worsen in freezes.
- Trim overhanging branches. Cut back limbs near power lines or the roof to reduce snapping risks during high winds.
Entry Points and Surroundings
- Reinforce doors and garage. Install storm braces or heavy-duty locks; seal gaps with foam tape for added wind resistance.
- Protect outdoor fixtures. Bring in patio furniture, secure trash cans, and cover grills to prevent them from becoming projectiles.
- Clear walkways in advance. Salt or sand driveways and paths to mitigate ice formation before the storm intensifies.
Estimated time: 3-4 hours, weather permitting. Estimated cost: Basic tools and materials like sealants cost 20 to 50 dollars; professional trimming may add 100 dollars or more.
Step 6: Create a Family Safety Plan (Hours 37-48)
Individual preparations gain strength through collective action. A detailed plan fosters unity and quick responses to evolving threats.
Communication Strategies
- Assign an out-of-area contact. Select a reliable relative or friend to serve as a central hub for status updates when local networks fail.
- Establish digital and analog channels. Set up a family messaging group and designate in-person meeting points if phones become unavailable.
- Schedule regular check-ins. Agree on intervals, such as every four hours, to report conditions and adjust plans accordingly.
Shelter and Contingency Options
- Designate safe indoor areas. Choose central rooms with minimal exterior walls and windows to maximize heat retention.
- Map evacuation routes and shelters. Research nearby facilities, record addresses and phone numbers, and practice the path to them.
- Plan for pets and special needs. Stock pet food, medications, and carriers; account for mobility aids or dietary restrictions in the group.
Estimated time: 2 hours for planning and drills. Estimated cost: Minimal, primarily paper and printing supplies.
Pro Tips for Effective Preparation
Approach tasks in layers, prioritizing life-sustaining elements like heat and water before secondary concerns. Label all critical items, from valves to supply bins, for rapid location under stress. Manage electrical loads carefully; dedicate circuits to high-draw items such as generators or heaters to avoid overloads. Keep small amounts of cash on hand, as electronic payments may falter during widespread outages. Document your home's pre-storm condition with photographs of interiors, exteriors, and appliances to support insurance processes if damage occurs.
Steps After the Storm
Once the weather clears, shift focus to recovery and prevention. Inspect the roof from a safe distance, using a long-handled rake to remove heavy snow packs that threaten collapse. Examine interiors for signs of water damage, such as discolored ceilings or warped floors, and address them promptly to prevent mold growth. Restock depleted supplies immediately, rotating food items to maintain freshness. Finally, service heating systems by cleaning components and consulting professionals for any performance issues observed during the event. These follow-up actions preserve your home's integrity and prepare you for future challenges, ensuring long-term security and comfort.