The Winter Prep That Shields Your Home from 2026 Storms
If you’ve ever spent a night listening to the wind rattle your windows and wondered if your roof could handle one more storm, you’re not alone. Harsh winter weather has a way of testing every weak spot in a home, from poorly sealed windows to overworked furnaces. The good news is that a little preparation now can save you thousands of dollars in emergency repairs later. Think of winter prep as an insurance policy you build with your own two hands, one weekend project at a time.
Key Points
- Budget range: $300 to $1,500 for most homeowners, depending on age and size of the house
- Timeline: 2 to 3 weekends for full winter readiness
- Payoff: Lower heating bills, fewer emergency repairs, and longer lifespan for your roof, siding, and systems
When storms roll in, your home should feel like a fortress, not a drafty shelter. Let’s go step-by-step through the winter preparation that keeps your home safe, warm, and dry.
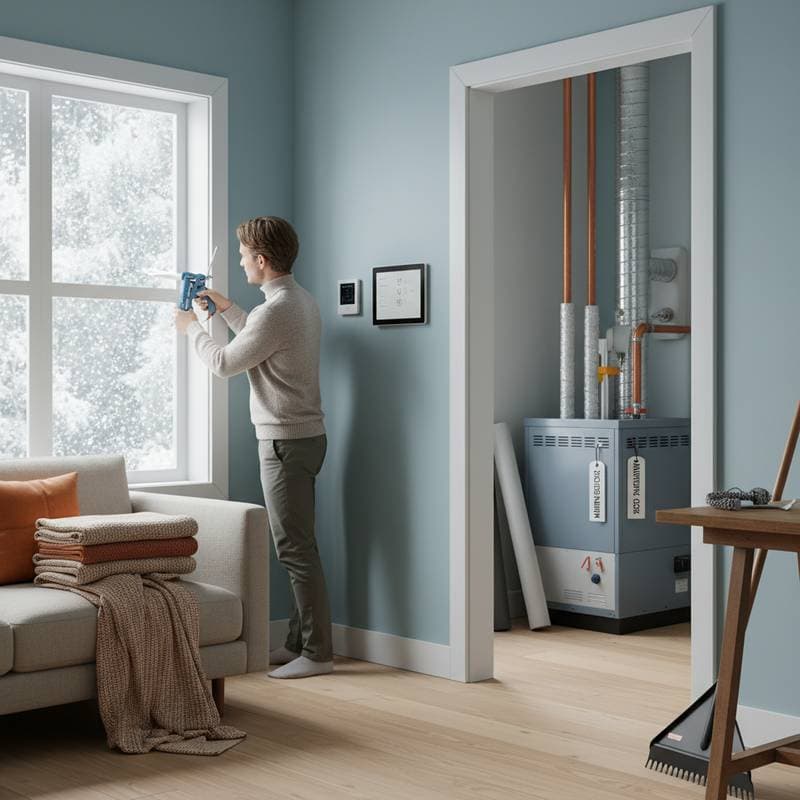
Step 2: Seal the Envelope of Your Home
If your house leaks air, you’re essentially heating the outdoors. Drafts around windows, doors, and outlets can waste up to 30 percent of your heating energy. Start by feeling for cool air on windy days. A simple candle or incense stick can reveal subtle leaks when the smoke shifts direction.
Fixes that work fast:
- Replace brittle weatherstripping around exterior doors
- Add rope caulk or removable sealant to small window gaps
- Insert foam gaskets behind light switch and outlet covers on exterior walls
- Seal attic hatch edges with adhesive-backed insulation tape
The total cost for these improvements often falls between $100 and $200, and the payoff shows up immediately in comfort and lower energy bills. For older homes, investing in professional air sealing and insulation upgrades could range from $700 to $1,200, but the long-term savings make it worthwhile.
Step 4: Protect Your Pipes from Freezing
Frozen pipes are one of winter’s most expensive disasters, often costing more than $2,000 in repairs and water damage. Focus on pipes that run through unheated spaces such as basements, garages, and crawlspaces.
Prevention checklist:
- Wrap exposed pipes with foam insulation sleeves
- Use heat tape for vulnerable lines near exterior walls
- Keep cabinet doors open under sinks during severe cold to let warm air circulate
- Allow a slow trickle of water to flow from faucets on the coldest nights
For DIYers, basic pipe insulation costs less than $2 per foot and takes just minutes to install. If your home has a complex plumbing layout or older copper pipes, consult a plumber to identify weak points before temperatures drop.
Step 6: Prepare Your Exterior for Heavy Weather
Your yard and exterior structures can either support your winter readiness or become liabilities. Begin by trimming branches that hang near your roof or power lines. Snow and ice can weigh them down, causing damage or outages.
Next, inspect siding and exterior caulking. Gaps can allow wind-driven rain or snow to infiltrate walls. Re-caulking around windows, vents, and siding joints costs about $60 in materials and a couple of hours of labor. For wood siding, check for peeling paint or soft spots that could trap moisture.
If you have a deck or porch, apply a fresh coat of waterproof sealant before temperatures drop too low. This prevents cracking and rot, extending the life of your outdoor spaces.
Step 8: Safeguard Your Home’s Foundation
When snow melts, water often pools around foundations, leading to leaks or cracks. Check that the grading around your home slopes away from the structure. If necessary, add soil to low areas to create a gentle slope that diverts water.
Inspect basement walls for hairline cracks and seal them with an epoxy injection kit. For larger or persistent leaks, a waterproofing contractor can install drainage systems or sump pumps, typically costing between $1,500 and $3,000 depending on complexity.
A simple but overlooked step is disconnecting garden hoses and draining outdoor faucets. A frozen hose bib can burst inside the wall, causing hidden water damage. Install frost-proof spigots or insulated faucet covers for peace of mind.
Step 10: Winterize Outdoor Equipment and Spaces
Outdoor furniture, grills, and tools need attention too. Clean and cover items or store them in a shed or garage to prevent rust and cracking. Drain any water from garden hoses, fountains, or irrigation systems to avoid burst lines.
If you own a snow blower, test it before the first storm hits. Replace old fuel, check spark plugs, and lubricate moving parts. Nothing’s worse than discovering it won’t start when you need it most. Keep a shovel and ice melt near your door for quick access during early snowfalls.
Step 12: Create a Maintenance Schedule for Winter Durability
Once your home is prepped, maintenance becomes the key to keeping it that way. Schedule regular checks throughout the season:
- Monthly: Inspect gutters for ice buildup, test sump pumps, and clear snow away from foundation vents.
- After major storms: Walk around the property to spot fallen branches, damaged shingles, or siding issues.
- Mid-season: Replace furnace filters, recalibrate thermostats, and check insulation in attics for moisture.
These small actions keep minor issues from turning into expensive repairs.
Pro Tips for Success
- Start early. The best time for winter prep is before temperatures drop, when materials remain flexible and professionals have open schedules.
- Prioritize safety. Use stable ladders, wear protective gear, and never work on a roof in icy conditions.
- Document improvements. Keep photos and receipts of upgrades for insurance purposes. Some energy-efficient improvements may qualify for rebates.
- Stay flexible. Every home is different. Adjust your checklist based on age, region, and construction type.