30-Day Spring HVAC Maintenance Plan for Optimal Performance
Heating and cooling systems endure significant strain during variable spring weather. Small inefficiencies may go unnoticed initially, yet they escalate into expensive repairs or higher energy consumption by summer. This 30-day plan restores system efficiency, enhances indoor air quality, and prolongs equipment life before peak seasonal demands arise.
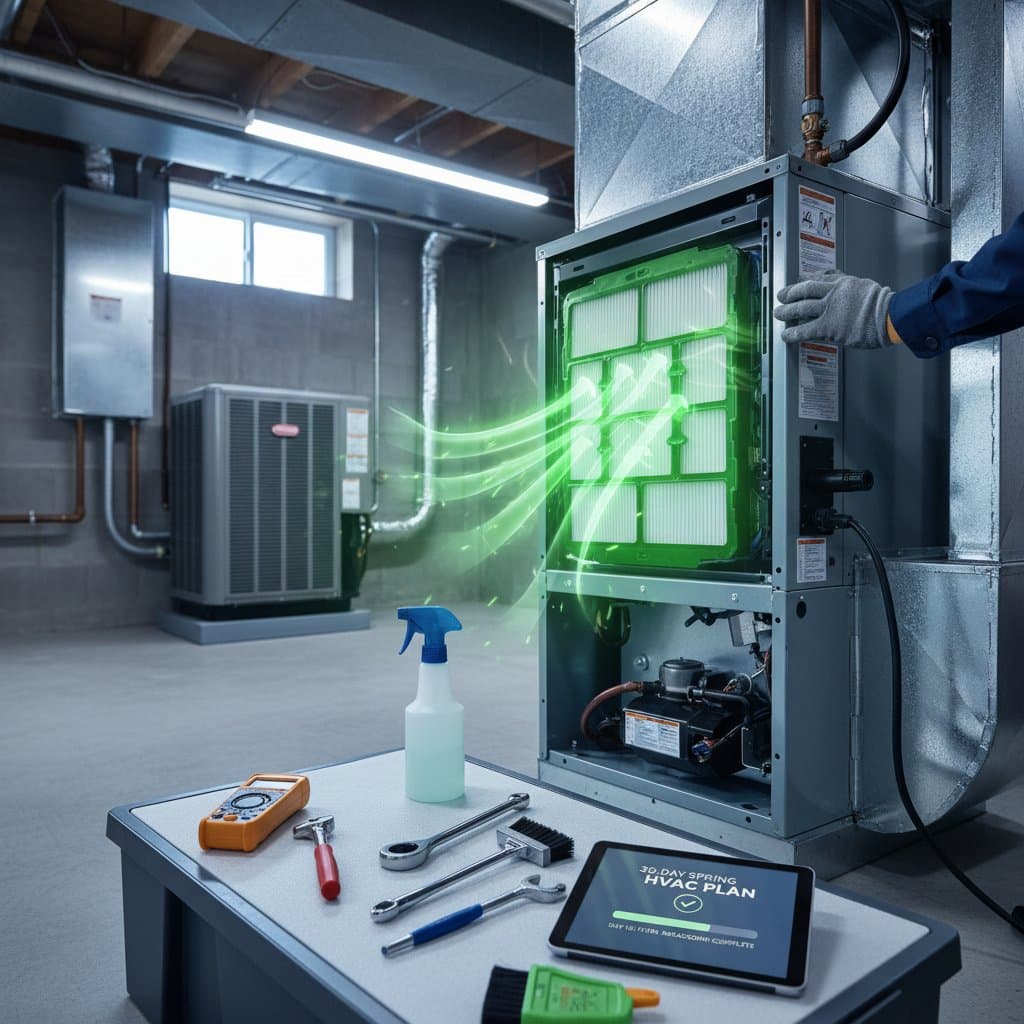
The program features one practical task per day, complete with objectives, safety guidelines, and required tools. Participants can manage routine elements independently or arrange professional services as needed. Consistency in these steps ensures reliable operation and cost savings.
Week 1: Initial Inspection and Airflow Fundamentals
Begin with foundational assessments to establish a performance baseline. These brief daily activities familiarize users with system components and identify early concerns.
Day 1: Power down the HVAC system at the thermostat and breaker. Visually examine indoor evaporator coils and outdoor condenser units for accumulated dust, corrosion, or debris. Ensure all supply vents, return grilles, and access panels remain free of obstructions to promote unobstructed airflow.
Day 2: Install a new air filter in the return air duct or furnace compartment. This action immediately enhances airflow and system efficiency. Select filters rated MERV 8 or higher for households with pets or allergy sufferers; expect costs between $10 and $40 based on dimensions and filtration level.
Day 3: Use a vacuum cleaner equipped with a soft brush attachment to clean supply registers and return vents throughout the home. Inspect for moisture buildup or mold growth, which may signal underlying ductwork problems requiring professional evaluation.
Day 4: Evaluate thermostat functionality and calibration. Compare its readings against a separate digital thermometer placed nearby. Consider upgrading to a programmable or smart model, priced from $100 to $250, which can yield up to 10 percent savings on yearly energy expenses through optimized scheduling.
Day 5: Verify electrical connections by inspecting circuit breakers and dedicated shutoff switches. Reset any tripped breakers and confirm steady power delivery to the unit, avoiding potential overloads during operation.
Day 6: Gently clean the thermostat faceplate and surrounding control panels with a microfiber cloth lightly dampened with water. Remove dust layers that could impair sensor accuracy and responsiveness.
Day 7: Restore power to the system and operate it briefly. Listen attentively for abnormal sounds such as persistent humming, rattling, or grinding, which often indicate loose components or foreign objects in the blower assembly.
Week 2: Component Cleaning and System Checks
Shift focus to targeted cleaning of key elements and basic diagnostic tests. These steps address common wear points to prevent efficiency declines.
Day 8: Access the outdoor condenser coils and clear vegetation or dirt using a garden hose on low pressure. Avoid high-pressure washers, which can bend delicate fins; straight fins ensure proper heat dissipation.
Day 9: Examine the blower fan in the indoor unit for blade dirt or imbalance. Clean accessible areas with a soft brush, and tighten any loose mounting screws to minimize vibration and noise.
Day 10: Check drain lines for clogs by pouring a mixture of one part bleach to 10 parts water down the condensate drain. This prevents water backups that lead to humidity issues or system shutdowns.
Day 11: Inspect belts and pulleys on the blower motor if applicable to your system. Look for cracks or fraying, and adjust tension as per manufacturer guidelines; worn belts reduce fan speed and efficiency.
Day 12: Test system startup and shutdown cycles multiple times. Monitor for delays or failures, which might point to capacitor or relay problems best addressed by a technician.
Day 13: Clean evaporator coils inside the home unit with a no-rinse coil cleaner spray, available for $15 to $25. This removes residue that hampers heat transfer and raises operating costs.
Day 14: Review energy usage records from the past month via your utility app or bills. Note any spikes as a reference point for post-maintenance improvements.
Week 3: Air Quality Enhancements and Comfort Adjustments
Refine indoor environment controls to support superior air circulation and occupant well-being. These tasks optimize distribution and filtration.
Day 15: Verify thermostat schedule settings align with daily routines. Program adjustments for occupied and unoccupied periods to maintain consistent temperatures without excess runtime.
Day 16: Apply fresh weatherstripping to door and window frames using self-adhesive foam or rubber seals. This seals drafts costing $30 in supplies for a standard home and reduces HVAC workload significantly.
Day 17: Dust ceiling fan blades and set rotation to counterclockwise for summer mode, directing air downward to enhance cooling distribution and perceived comfort.
Day 18: Swap out secondary filters in furnaces or air handlers if your setup includes them. Secure frames tightly to eliminate bypass airflow around edges.
Day 19: Service integrated air purifiers or humidifiers by washing reusable filters or replacing disposables. Maintain these accessories to sustain overall air purity and humidity balance.
Day 20: Survey accessible duct joints for separations or gaps. Apply mastic sealant or foil tape for minor repairs; professional assessments for extensive networks run $300 to $500 and can cut energy losses by 20 percent.
Day 21: Conduct a room-by-room temperature audit using an infrared thermometer. Identify discrepancies exceeding 4 degrees Fahrenheit, indicating potential damper malfunctions or insulation gaps.
Week 4: Advanced Diagnostics and Long-Term Strategies
Conclude with performance verification and forward-planning measures. These ensure sustained benefits and prepare for future needs.
Day 22: Measure static pressure across the system with a manometer if available, or note airflow strength at vents. Deviations suggest filter or duct restrictions needing correction.
Day 23: Lubricate moving parts like motor bearings per the owner's manual, using manufacturer-recommended oil. This reduces friction and extends component durability.
Day 24: Inspect insulation on refrigerant lines for damage or compression. Add foam sleeves where necessary to prevent condensation and energy theft.
Day 25: Run a full system cycle in both heating and cooling modes if equipped. Document runtime and output to baseline future efficiency.
Day 26: Evaluate attic or crawlspace ventilation around duct runs. Improve with soffit or ridge vents to avoid heat gain or moisture affecting system performance.
Day 27: Schedule a professional tune-up if not already done; technicians check refrigerant levels and electrical integrity, often for $75 to $200.
Day 28: Calculate potential savings using online HVAC efficiency calculators based on your maintenance actions. Track against actual bills in coming months.
Day 29: Document all completed tasks in a maintenance log, including photos of before-and-after conditions for warranty or insurance purposes.
Day 30: Perform a final walkthrough to confirm smooth operation and even comfort. Celebrate efficiency gains and commit to quarterly reviews.
Strategies for Ongoing System Reliability
Maintain momentum with regular monitoring to avoid recurring issues. Integrate sensory checks for sounds, scents, and air movement into weekly routines, catching problems early.
Establish a digital calendar for filter replacements every 1-3 months and annual professional inspections. Budget for upgrades like variable-speed blowers, which enhance efficiency by 15-20 percent over standard models.
Recognize limits of DIY efforts; entrust refrigerant handling, electrical repairs, or coil overhauls to certified experts to ensure safety and compliance. Proactive care not only averts 25 percent efficiency drops but also safeguards your home investment for years of dependable service.