LVP vs Hardwood Flooring: Essential DIY Guide for Informed Choices
Standing in a store aisle, examining wood planks alongside vinyl boards, presents a common dilemma for homeowners. Hardwood offers enduring elegance and prestige, whereas luxury vinyl plank (LVP) delivers contemporary style at a lower price point. Each option possesses the potential to revitalize a room, yet the optimal selection hinges on personal objectives, financial constraints, and readiness for hands-on work.
This resource outlines a complete approach to choosing between LVP and hardwood, covering expense evaluations, installation processes, ongoing upkeep, and suitability for do-it-yourself efforts. Upon completion, readers gain clarity on aligning flooring with daily routines, organizing installations effectively, and identifying nuances that distinguish amateur attempts from expert outcomes.
Quick Comparison Overview
| Feature | LVP | Hardwood |
|---|---|---|
| Average Material Cost | $2.50 - $5 per square foot | $6 - $12 per square foot |
| DIY Skill Level | Beginner to intermediate | Intermediate to advanced |
| Durability | Excellent resistance to scratches and water | Susceptible to dents and moisture damage |
| Maintenance | Basic cleaning; no refinishing needed | Periodic refinishing required |
| Expected Lifespan | 15 - 25 years | 40 - 100 years with proper care |
| Repair Options | Individual plank replacement | Multiple surface refinishing |
| Environmental Factors | Synthetic base; some recyclable variants | Renewable natural material |
| Best Applications | Kitchens, bathrooms, basements | Living areas, bedrooms, corridors |
This summary highlights essential differences. Factors such as budget, technical proficiency, and future intentions guide the decision toward a project that proves both practical and satisfying.
Detailed Installation Processes
Success with flooring installation relies on grasping the unique requirements of each material. These insights enable choices grounded in aesthetics as well as personal capabilities for hands-on tasks.
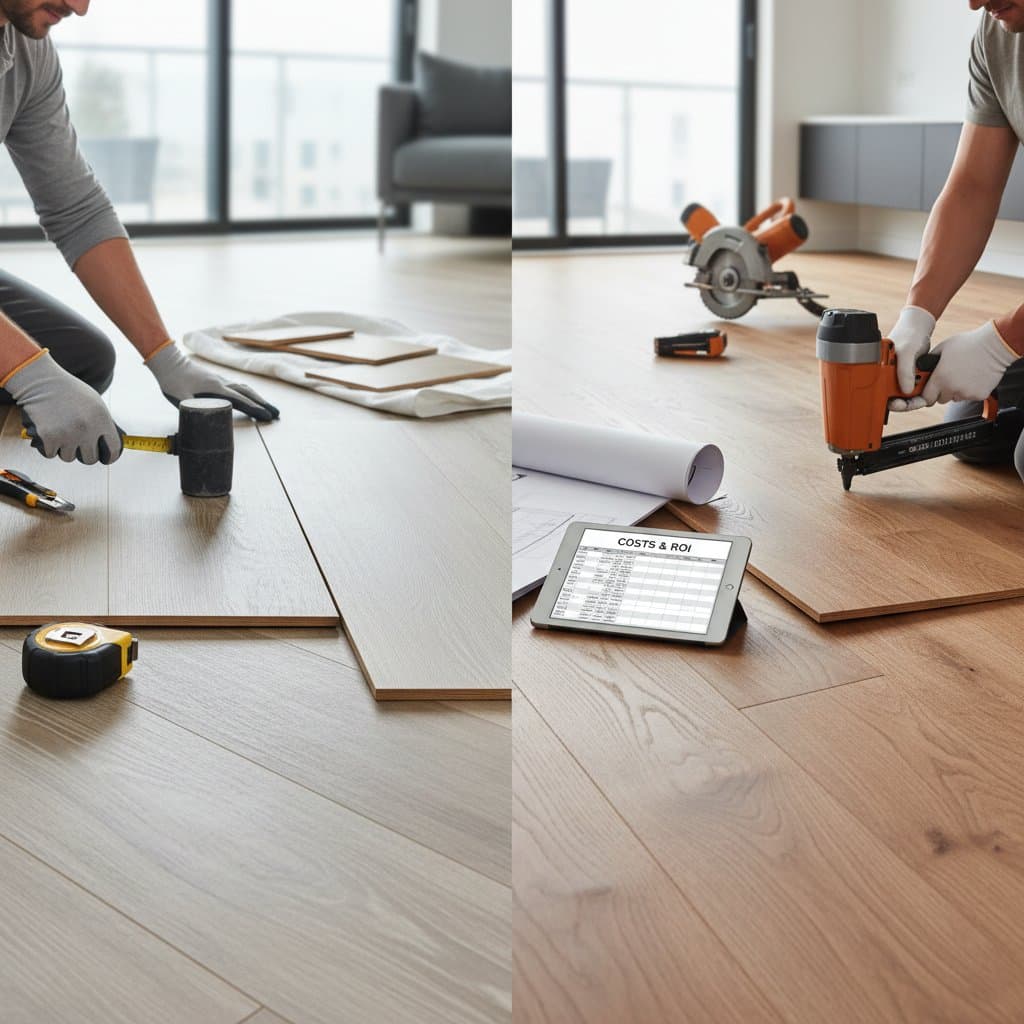
LVP Installation Guide
Required Tools and Supplies
- Utility knife
- Measuring tape
- Spacers
- Rubber mallet
- Pull bar and tapping block
- Underlayment or moisture barrier, as specified by product
Sequential Installation Steps
- Subfloor Preparation. Remove debris and verify flatness. Apply leveling compound to address minor depressions, allowing full drying time.
- Material Acclimation. Position planks in the installation space for a minimum of 24 hours to adjust to ambient conditions.
- Underlayment Placement. Install a thin moisture barrier if the LVP lacks integrated padding; unroll it smoothly across the floor.
- Initial Layout from Longest Wall. Position spacers along the wall to create a 1/4-inch expansion gap.
- Accurate Cutting. Mark lines with the utility knife and break planks along scores for clean edges.
- Interlocking Assembly. Angle and insert the tongue of one plank into the groove of the previous, then tap lightly with the mallet to secure joints.
- Edge Finishing. Install baseboard trim or quarter-round molding to conceal gaps and complete the appearance.
The click-lock mechanism of LVP allows for adjustments without adhesives or fasteners. Errors can be corrected by disengaging planks, making it ideal for those new to flooring projects.
Hardwood Installation Guide
Required Tools and Supplies
- Flooring nailer or stapler
- Table saw or miter saw
- Moisture barrier
- Wood filler
- Finishing nails and hammer
Sequential Installation Steps
- Material Acclimation. Allow wood to adapt to room humidity for several days prior to starting work.
- Subfloor Inspection and Preparation. Confirm dryness and evenness; install a vapor barrier over concrete subfloors.
- Layout Planning. Identify the room's centerline through measurements to ensure symmetrical row placement.
- Securing the First Row. Align boards parallel to the most even wall, fastening through the tongue with nails or staples at 6- to 8-inch intervals.
- Seam Staggering. Offset end joints by at least 6 inches between rows to enhance stability and visual appeal.
- Edge Trimming. Measure and cut boards to fit around obstacles like door jambs or heating vents using the saw.
- Surface Finishing. Sand the installed floor progressively with grits from coarse to fine, then apply stain and polyurethane for protection.
Although hardwood demands specialized tools and greater effort, it yields superior durability and property enhancement.
Strategies for Durability and Upkeep
Effective care routines align with the inherent properties of each flooring material. Implementing these practices preserves appearance and extends service life.
LVP Care Routine
- Weekly Maintenance. Use a broom or vacuum without a beater bar, followed by mopping with a diluted, pH-neutral solution.
- Damage Prevention. Attach protective pads to furniture legs and lift items rather than sliding them across the surface.
- Moisture Management. LVP withstands splashes effectively, yet prolonged exposure at seams may cause issues; address spills immediately with a dry cloth.
Hardwood Care Routine
- Daily Dusting. Employ a microfiber mop to remove particles that could scratch the finish.
- Traffic Protection. Deploy area rugs in pathways and doormats at entrances to minimize dirt and wear.
- Refinishing Timeline. Plan for light sanding and recoating every 10 to 15 years, or sooner in high-use zones.
Consistent attention to these elements sustains the allure of either surface, though hardwood necessitates more vigilant oversight.
Framework for DIY or Professional Installation
The choice between self-installation and expert assistance balances accuracy, schedule, and acceptance of potential setbacks.
Opt for DIY When:
- Proficiency in precise measurements and material handling exists.
- Access to essential power tools is available.
- Emphasis on expense reduction outweighs demands for flawless execution.
Select Professional Services When:
- Subfloor irregularities or structural concerns require specialized correction.
- The project spans several rooms or involves complex patterns.
- Assurance of manufacturer warranties demands certified workmanship.
Consider a combined method: engage professionals for subfloor leveling and final sealing while managing the layout and fastening personally. Such an arrangement moderates expenses alongside personal involvement.
Aligning Flooring with Lifestyle and Long-Term Value
Beyond functionality, flooring influences sound quality, underfoot comfort, and overall ambiance. Hardwood imparts genuine warmth and patina that evolves with use, suiting serene environments. LVP provides resilient versatility for active families, accommodating pets and frequent cleaning without compromise.
Evaluate room usage patterns: high-moisture areas favor LVP's impermeability, while formal spaces benefit from hardwood's prestige. Both elevate home value, yet hardwood often yields higher resale premiums in traditional markets. Factor in energy efficiency, as darker tones absorb heat and lighter ones reflect it, aiding climate control.
Maximizing Satisfaction After Installation
Post-installation, monitor for settling issues like minor gaps from humidity shifts. Test cleaning methods on inconspicuous areas to avoid residue buildup. Schedule annual inspections to catch wear early, ensuring the flooring continues to enhance daily living for years ahead.