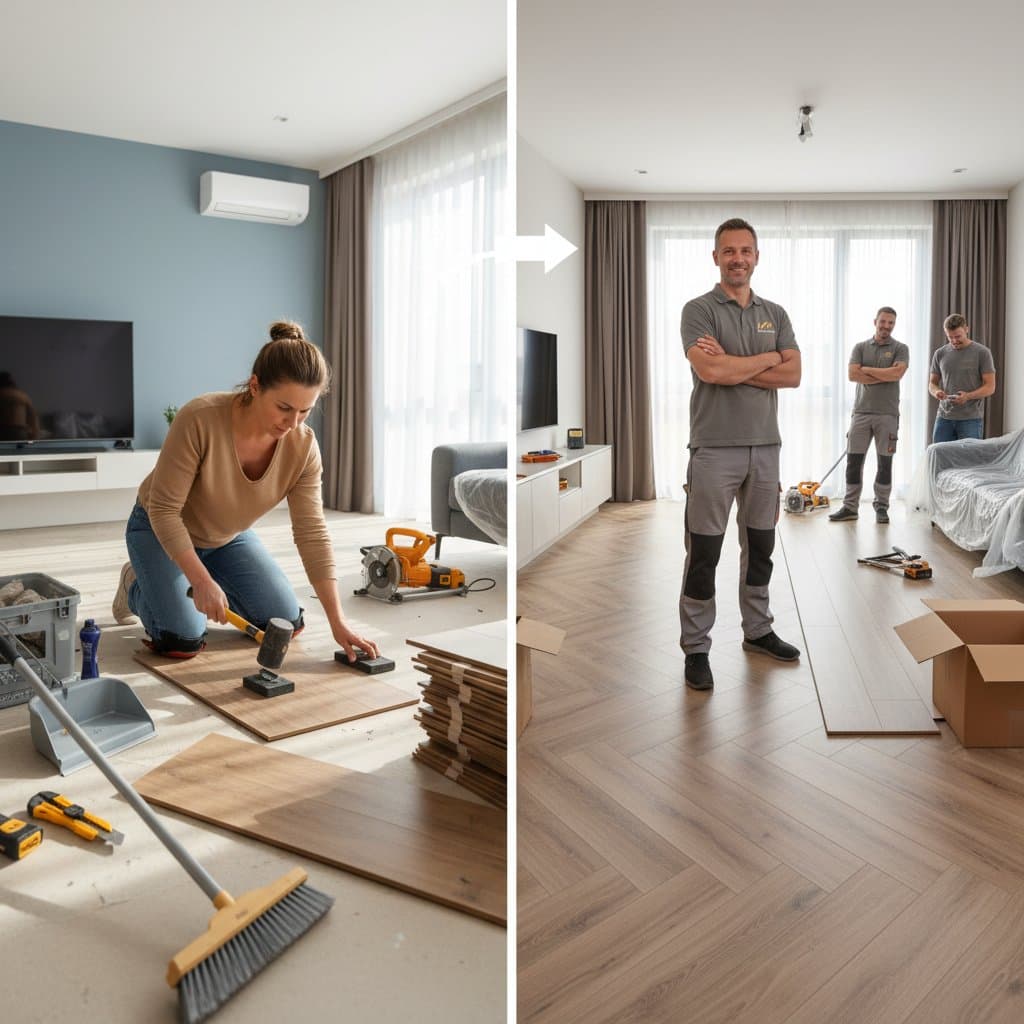
Should You DIY Luxury Vinyl Plank or Hire a Pro?
Luxury vinyl plank flooring combines the aesthetic appeal of hardwood with practical benefits such as durability and affordability. Homeowners often face the decision of whether to tackle the installation themselves or enlist professional help. This guide examines the factors involved in both approaches to assist in making an informed choice.
Understanding Luxury Vinyl Plank Flooring
Luxury vinyl plank flooring, often abbreviated as LVP, replicates the look of natural wood through advanced printing techniques on multiple layers of vinyl. The top layer provides protection against scratches and stains, while the core offers stability. This material suits various spaces, including kitchens and bathrooms, due to its water resistance.
Installation typically involves a click-lock system that allows planks to interlock without adhesives in many cases. Preparation of the subfloor remains crucial for a level surface. Proper underlayment can enhance sound absorption and comfort underfoot.
Benefits and Challenges of DIY Installation
Opting for a do-it-yourself approach appeals to those seeking cost savings and personal satisfaction. Materials alone might cost between $2 and $7 per square foot, depending on quality and style. Homeowners avoid labor fees, which professionals charge at rates of $2 to $5 per square foot.
Essential tools include a utility knife for cutting planks, a tapping block and mallet for securing joints, and a straightedge for precise measurements. A moisture meter helps assess subfloor conditions to prevent future issues like buckling. Renting a flooring roller ensures even pressure during placement.
Challenges arise with subfloor imperfections, such as uneven concrete or warped wood, requiring leveling compounds or repairs. Cutting around obstacles like door jambs demands patience and skill. Inadequate acclimation of planks to room humidity can lead to gaps or warping over time.
Step-by-Step Guide to DIY Luxury Vinyl Plank Installation
-
Prepare the space by removing baseboards and old flooring. Clean the subfloor thoroughly and check for levelness using a long straightedge.
-
Acclimate the planks in the installation area for at least 48 hours to match room conditions.
-
Start in a corner, laying the first row with the groove facing the wall. Use spacers to maintain expansion gaps of about 1/4 inch.
-
Stagger seams in subsequent rows for stability, cutting planks as needed with a fine-tooth saw or scoring tool.
-
Roll the entire floor to secure connections, then reinstall baseboards to cover gaps.
This process suits smaller areas under 400 square feet, where mistakes prove easier to correct.
Advantages of Hiring a Professional
Professionals bring expertise that minimizes errors and ensures longevity. They assess subfloor issues early, using tools like laser levels for precision. Certified installers follow manufacturer guidelines, often providing warranties that cover workmanship.
Hiring adds convenience, as crews complete projects in days rather than weeks. For complex layouts with multiple rooms or transitions to other flooring types, their experience saves time. Professionals also handle permits if required in certain municipalities.
Costs vary by location and project size, but expect total expenses of $4 to $10 per square foot including materials. Larger projects may qualify for discounts. Insurance coverage protects against damage during installation.
Potential Drawbacks of Professional Installation
The primary concern involves higher upfront costs, which may strain budgets for extensive renovations. Scheduling waits can delay projects, especially in peak seasons. Some contractors overlook details like proper underlayment, leading to callbacks.
Homeowners relinquish control over the timeline and material choices. Verify credentials through reviews and references to select reliable teams. Contracts should detail timelines, cleanup, and warranty terms.
Key Factors to Consider in Your Decision
Evaluate your skill level and available time. DIY projects demand weekends or vacation days, plus physical effort like moving furniture. If unfamiliar with tools, practice on scrap pieces first.
Room size and layout influence feasibility. Straightforward spaces favor DIY, while irregular shapes or high-traffic areas benefit from pros. Budget plays a role; calculate total costs including potential fixes for DIY errors.
Long-term value matters too. A flawless installation enhances home resale appeal. Consult local building codes, as some areas mandate professional work for warranties.
Essential Tips for a Successful Installation
Regardless of approach, measure the space accurately, adding 10 percent extra for cuts and waste. Choose planks with attached underlayment for simpler setups. Maintain room temperature between 65 and 85 degrees Fahrenheit during installation.
For DIY, watch tutorial videos from reputable sources and enlist a helper for large areas. Professionals should provide progress updates. After completion, avoid heavy furniture for 24 hours and use felt pads on chair legs to prevent scratches.
Regular maintenance involves sweeping and occasional mopping with mild soap. Address spills promptly to preserve the finish.
Weighing Your Options for the Best Results
DIY installation empowers budget-conscious homeowners with basic skills, delivering satisfaction from a hands-on project. Professional services offer peace of mind and superior outcomes for those prioritizing efficiency. Assess your circumstances to select the path that aligns with your goals and resources.
