
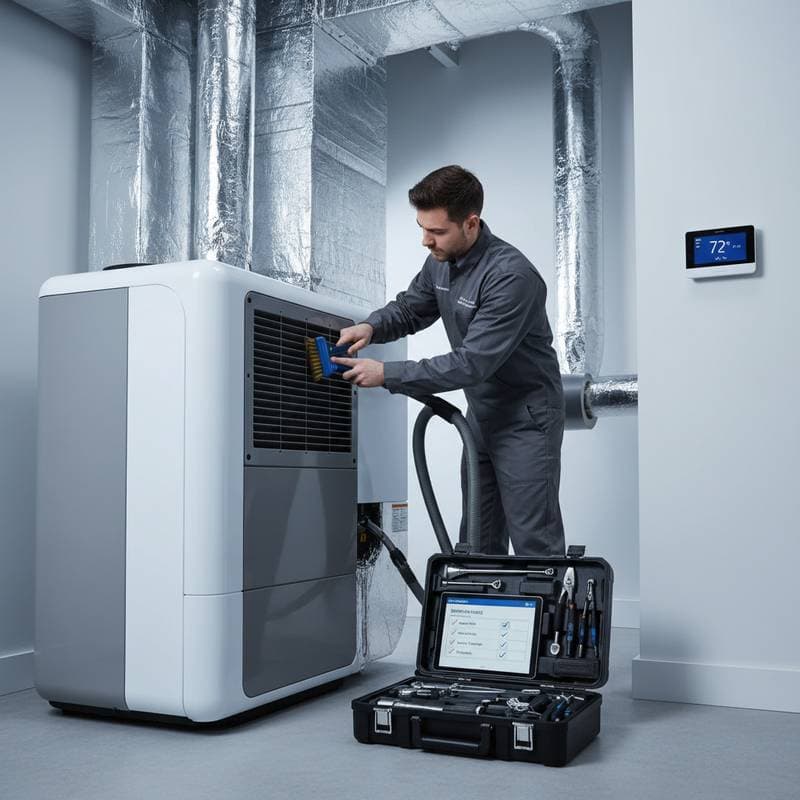
Spring HVAC Checklist for Peak System Efficiency
On the first warm morning of spring, the air inside a home can feel heavier than expected. A faint layer of dust may appear in the sunlight. When the HVAC system starts, the airflow often feels sluggish rather than crisp. These signs indicate that the equipment needs attention before extended heat arrives.
This checklist restores efficiency, supports indoor air quality, and extends equipment life. It blends professional practices with clear DIY steps so homeowners can decide which tasks to complete themselves and when to contact a technician.
Why Spring Maintenance Matters
Spring brings temperature swings that force the HVAC system to switch between heating and cooling. These shifts expose dust buildup, clogged filters, worn belts, and low refrigerant. Each issue reduces performance and raises monthly energy costs.
Pollen and dust also circulate through living spaces when filters are neglected. Proper cleaning now creates a healthier indoor environment and lowers the chance of mid summer failures.
Clean Indoor and Outdoor Coils
Coils transfer heat and directly affect efficiency. Dirt creates an insulating layer that forces the system to work harder.
Indoor coils sit inside the air handler. When accessible, use a brush attachment on a vacuum to remove loose dust. A no rinse coil cleaner formulated for evaporator coils handles deeper buildup.
Outdoor coils collect leaves, pollen, and grime. Turn off power to the unit, remove the top cover if needed, and rinse the coils with a garden hose at moderate pressure. Work from the inside outward to flush debris.
Clean coils lower energy use and reduce strain on the compressor.
Inspect Thermostat and System Controls
Thermostats often remain untouched until temperature control becomes inconsistent. Spring offers the right moment to test settings and consider upgrades.
Smart thermostats can reduce energy use by learning household routines and adjusting temperatures automatically. When combined with zoning, they deliver customized comfort in different areas of the home.
Test the thermostat by setting it to cooling mode and confirming that air flows from vents within a few minutes. Briefly switch to heating mode to verify both functions operate correctly. Slow or absent responses may point to wiring or sensor issues that require adjustment.
Lubricate Moving Parts and Check Belt Tension
Fans, motors, and belts move air through the system. Dry bearings or loose belts increase friction and accelerate wear.
Turn off power and remove the access panel near the blower motor. Examine belts and pulleys for cracks and replace any that show damage. Apply HVAC safe lubricant to motor bearings only when the manufacturer recommends it.
This step maintains smooth operation and reduces the risk of unexpected failures during peak demand.
Evaluate Refrigerant Levels
Low refrigerant reduces cooling capacity and can damage the compressor. Uneven temperatures, hissing sounds, or ice on refrigerant lines often signal a leak.
Only licensed technicians may test or adjust refrigerant because of safety regulations and environmental rules. A spring service visit confirms correct pressure and temperature settings before summer loads increase.
Schedule a Professional Tune Up
DIY steps complement but do not replace a full professional inspection. A certified technician measures airflow, verifies electrical connections, checks refrigerant charge, and tests overall performance.
Service costs typically range from 100 to 250 dollars depending on system size and location. The investment frequently prevents larger repairs later. Many companies offer maintenance plans that include seasonal visits, priority scheduling, and parts discounts.
Protect Long Term System Performance
Consistent spring care keeps the HVAC system reliable through summer and beyond. Homeowners who follow these steps enjoy steadier temperatures, lower utility costs, and fewer emergency calls.