
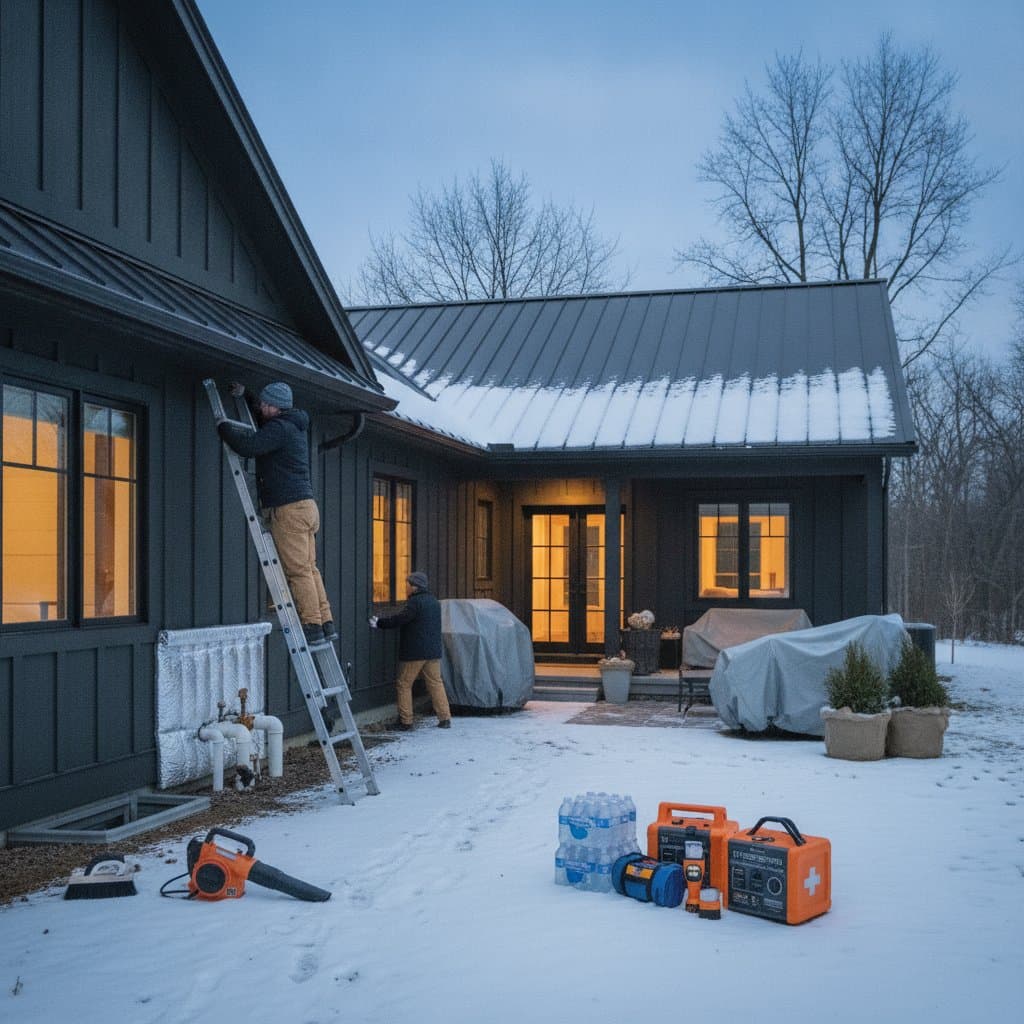
Winter Checklist to Prevent Costly Storm Damage
The answer is simple. You do not want to wait until the first big freeze or storm to discover your home weaknesses. Every winter brings familiar challenges. Homeowners spend thousands each year on problems that one weekend of preparation could have prevented. Preventing storm damage relies on routine maintenance, smart scheduling, and targeted upgrades that deliver lasting returns.
This checklist guides you through the actions that keep cold air out, direct water away, and protect your property from expensive repairs.
Step 1: Conduct a Full Exterior Inspection
Walk around your home before temperatures drop. Examine siding joints, window frames, and foundation lines for cracks, gaps, or shifting materials. Small openings expand when cold causes contraction.
Look for peeling caulk around windows and doors, gaps in siding or trim, deteriorating mortar on brickwork, and sunken areas near the foundation. Repair these issues early to block moisture that can freeze and cause structural harm. One tube of exterior sealant often costs about ten dollars yet prevents hundreds in later repairs.
Step 2: Clean and Strengthen Gutters and Downspouts
Overflowing or frozen gutters allow water to back up under roof edges and damage siding. Clear all debris first, then flush sections with a garden hose to confirm proper flow. Extend downspouts at least five feet from the foundation.
Professional cleaning for an average home ranges from one hundred to two hundred dollars. Gutter guards reduce future maintenance and typically cost under four hundred dollars installed. In snowy regions, choose flexible downspout extensions that resist ice pressure.
Step 3: Inspect Windows, Doors, and Weatherstripping
Poor seals cause energy loss and promote condensation that damages interiors. Replace worn weatherstripping and add insulating film to older windows when full replacement is not feasible.
Watch for drafts near frames, condensation between panes, and loose or rattling locks. New weatherstripping for an entire home costs less than fifty dollars and can reduce heating bills by up to ten percent.
Step 4: Secure Trees and Outdoor Structures
High winds and heavy snow turn weak trees and loose structures into hazards. Trim branches that overhang roofs, driveways, or power lines. Professional trimming for moderate work costs two to four hundred dollars, far less than roof repairs from a fallen limb.
Check trunks for cracks or rot, confirm sheds and playsets are anchored, and move lightweight furniture indoors. Consult a certified arborist if tree stability is uncertain.
Step 5: Prepare for Power Interruptions
Winter storms frequently cause outages. Stock flashlights, batteries, and a basic emergency kit. For extended events, keep a portable generator ready.
Operate generators only outdoors and use outdoor-rated extension cords. Install whole-house surge protection to guard electronics. Homeowners facing repeated outages may consider a standby generator system costing four to nine thousand dollars installed.
Ongoing Protection Strategies
Address roof, gutters, and plumbing first because failures in these areas create the highest repair costs. Book professional inspections early to secure availability and quality. Maintain written records of all work to support insurance claims and potential premium reductions. Choose wind and impact rated materials for replacements to gain longer warranties and possible discounts.