Deciding Between DIY and Professional Kitchen Backsplash Installation
A kitchen backsplash adds visual interest and practical protection to your cooking space. Homeowners often debate whether to install it themselves or hire an expert. This article examines the financial implications, required skills, and potential outcomes of each approach to guide your decision.
Understanding Installation Costs
The expense of a kitchen backsplash varies based on size, materials, and installation method. Expect to pay between $10 and $35 per square foot for a complete project. Materials such as ceramic tiles cost $2 to $10 per square foot, while premium options like natural stone reach $15 to $30 per square foot.
For a DIY project covering 20 to 30 square feet, budget $150 to $400 for supplies including tiles, thin-set mortar, grout, spacers, and a basic tile cutter. Professional services add labor fees, which account for 50 to 70 percent of the total, pushing costs to $600 to $1,200 for the same area. These figures assume standard installations without custom features like mosaic patterns or integrated lighting.
Factor in additional expenses such as surface preparation or removal of old backsplashes, which can add $100 to $300. Professionals often include these in quotes, while DIYers must source and apply them independently.
Benefits and Challenges of DIY Installation
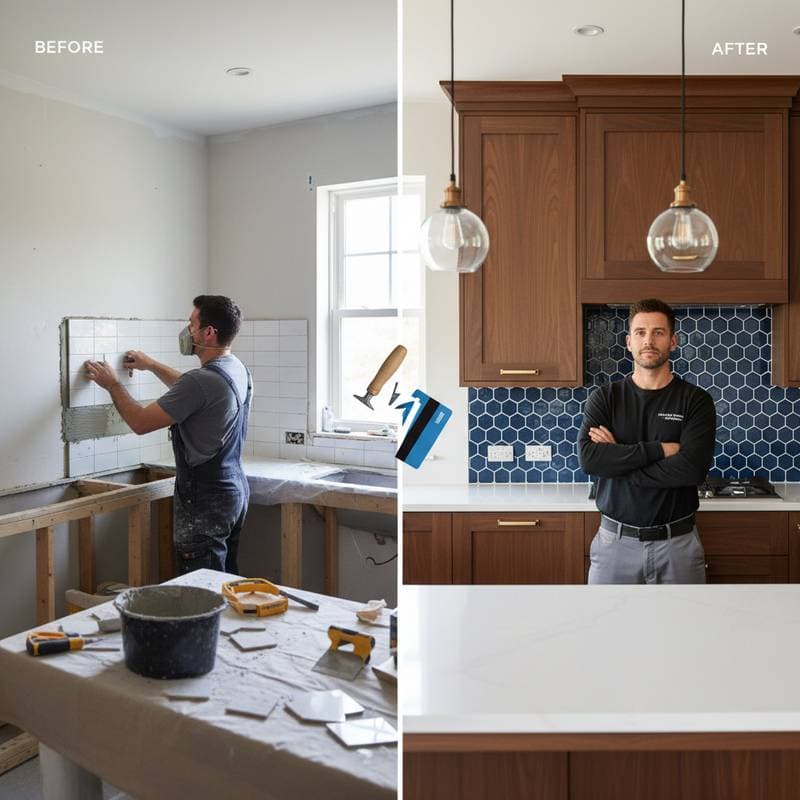
Most homeowners with basic handyman skills can complete a backsplash over a weekend. Begin by removing any existing covering and cleaning the wall thoroughly to ensure adhesion. Measure the area precisely, then dry-lay tiles to plan cuts around outlets, edges, and fixtures.
Apply thin-set mortar with a notched trowel, press tiles into place using spacers for even joints, and allow 24 hours to set before grouting. Seal the grout lines after curing to protect against stains and moisture.
Advantages of handling the installation yourself include:
- Substantial savings on labor, potentially $400 to $800.
- Full control over design choices, from tile selection to layout patterns.
- Sense of accomplishment from completing a visible home improvement.
Drawbacks to consider:
- Potential for errors like crooked lines or poor adhesion, leading to rework.
- Need for tools such as wet saws or laser levels, which may require rental fees of $50 to $100 per day.
- Time commitment, especially if learning curves extend the project beyond initial estimates.
To minimize risks, practice cuts on scrap pieces and use painter's tape to outline your work area. If the wall surface is uneven, apply a self-leveling compound first for a stable base.
Advantages of Hiring a Professional
Experienced tile installers deliver consistent quality through specialized techniques and equipment. They assess wall conditions, recommend suitable materials, and execute layouts that accommodate irregularities like sloped counters or plumbing penetrations.
Professionals complete most standard jobs in one to two days, minimizing disruption to your kitchen routine. They handle demanding tasks such as installing large-format tiles or integrating backsplashes with appliances seamlessly.
Select a contractor by reviewing portfolios of past work, obtaining multiple bids, and verifying licenses and insurance. Request itemized estimates that detail labor, materials, and any warranties, typically lasting one to five years.
Opt for professional help when dealing with high-value materials or complex designs, as their expertise preserves the investment. A well-executed installation enhances durability, reduces future repairs, and increases property value by up to 5 percent in kitchen-focused appraisals.
Essential Preparation and Execution Strategies
Preparation sets the foundation for success in either approach. Inspect walls for cracks or dampness, and repair them with appropriate fillers or waterproof membranes. Gather all materials in advance to avoid delays.
During installation, work in sections to maintain accuracy. Use a level at every step to verify alignment, and clean excess grout immediately to prevent hardened residues. For DIYers uncertain about electrical outlets, consult local codes or hire an electrician for safe modifications.
After completion, apply a penetrating sealer to the backsplash surface every 12 to 24 months, depending on material type. This routine maintains appearance and functionality over time.
Achieving a Lasting Kitchen Upgrade
A thoughtfully installed backsplash elevates daily cooking into an enjoyable experience. Weigh your skills, budget, and timeline to select the method that aligns with your goals. With careful planning, your kitchen will gain both style and resilience for years ahead.